20 Ponytails for Thin Hair That Look Fuller
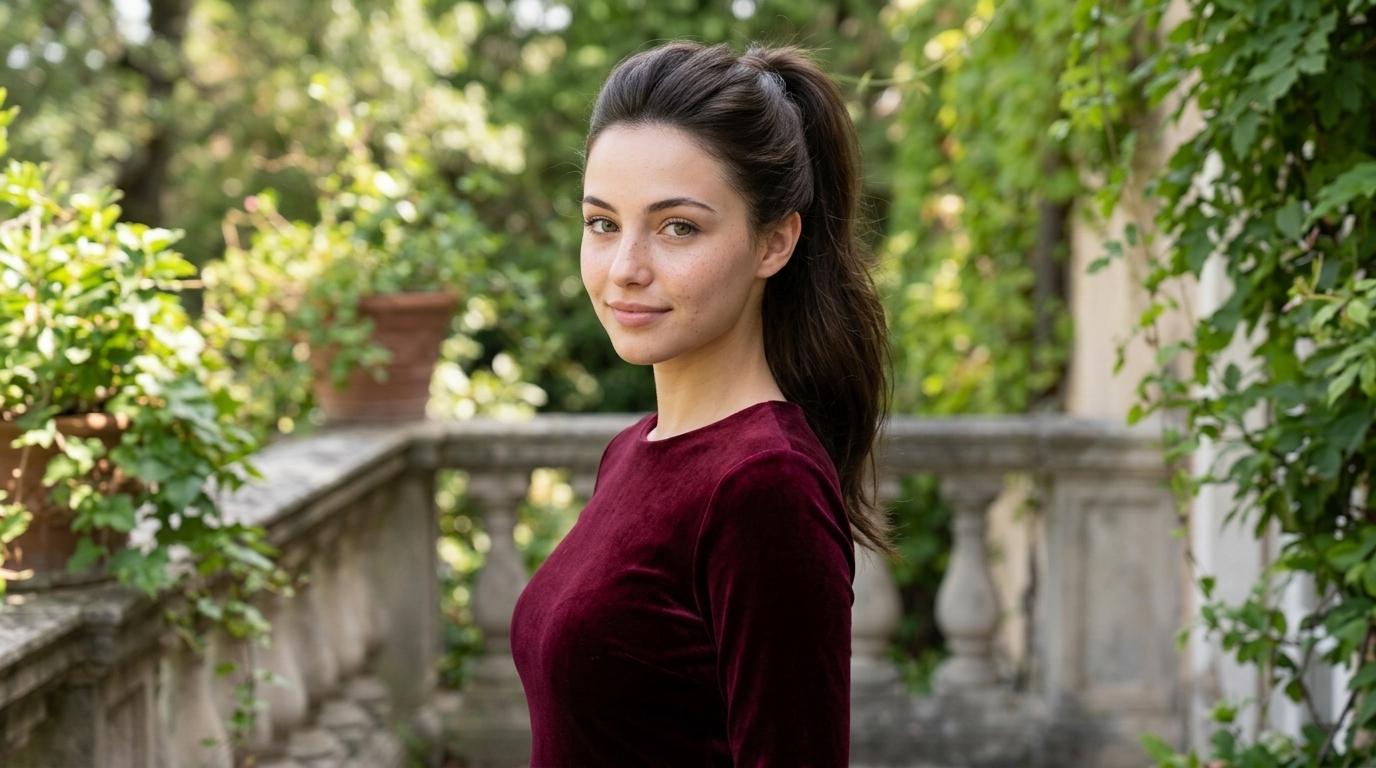
The fullest ponytails for thin hair are stacked, split or propped, never just pulled tighter: a double ponytail layered so the two read as one, a single tie split so the top half lifts the tail, and waves or texture added before the elastic goes in. One tight tie squeezes fine hair into a narrow rope and shows exactly how little is there. Build the width first with teasing, texture spray or a hidden clip, then tie.
A plain ponytail is the least forgiving style thin hair can wear. Every strand is pulled to a single point, so the tail comes out only as wide as the bunch of hair in your hand, and flat roots let the scalp show through at the part and the hairline. Pulling harder does not fix it; it flattens the tail further and strains strands that are already fragile. What works is distribution: spread the hair over a wider base, stack it in layers, or roughen its texture so it takes up more room, all before the tie goes on.
The 20 ponytails below are the ones stylists and hair blogs return to for exactly this job, from the two minute split tie trick to a bouffant built for a night out. Each one says how the fullness is created, who it suits, and one common mistake that undoes it, because the wrong elastic or a slicked back finish can cancel the whole effect. Keep ties soft, rotate the position from day to day, and no ponytail on this list should cost you hair at the hairline.
1. Split Tie Ponytail

The quickest lift on this list needs nothing but the tie already in your hair. Wrap the elastic as normal but stop before the last loop, split the tail into a top and bottom half, and take the final loop around the bottom half only. The top section drops over the tie and props the whole tail up, so it sits away from the head instead of hanging flat from one point. It suits any thin hair long enough to tie and works best at mid height, where the lifted layer shows. Skip tightening the elastic to fake the same effect, because fine strands snap under that tension. Expect to redo it once during the day as the tie loosens and the lift settles.
2. Double Stack Ponytail
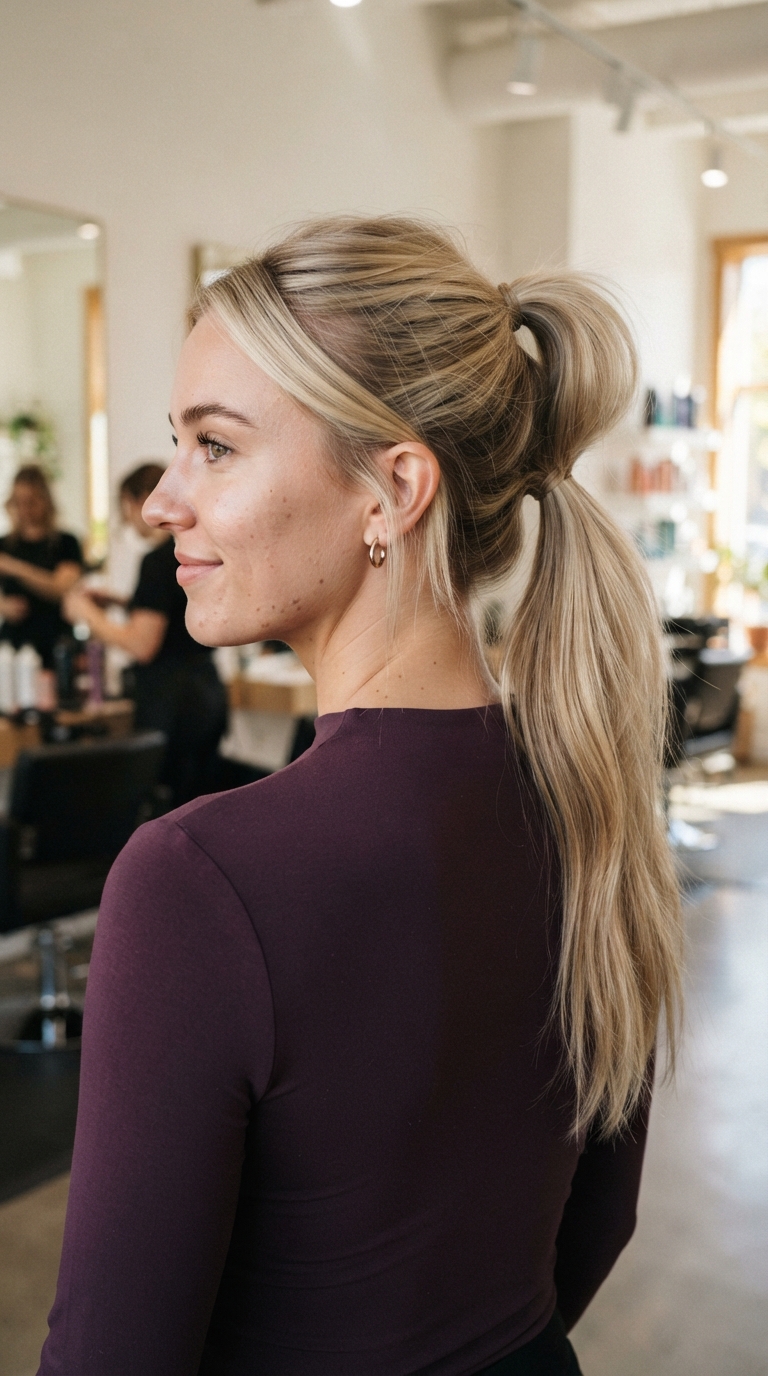
Two ponytails stacked one above the other read as a single long, thick one, which makes this the strongest option for hair that is fine and sparse at the same time. Part the hair from ear to ear, tie the top half high at the crown, then tie the lower half directly underneath so the upper tail falls over the lower tie and hides it. Fan both tails out with your fingers; two clear elastics and a mist of dry shampoo for grip keep it in place, and the whole thing takes about four minutes. It adds apparent length as well as width, because the lower tail starts further down the head. It needs at least shoulder length hair, since on shorter cuts the two ties sit too close and the join shows. Check the join from the side before you leave, and re-fan the tails after a windy journey.
3. Hidden Claw Clip Ponytail
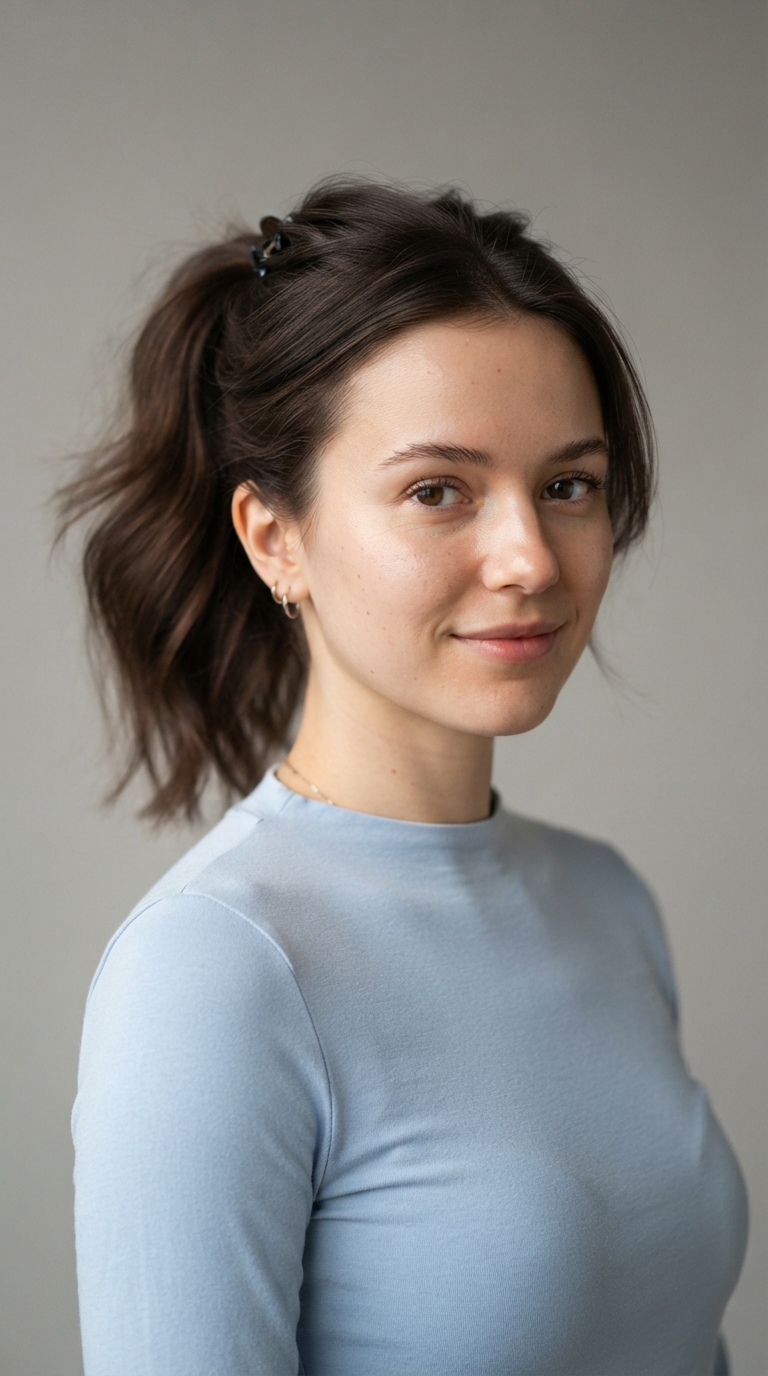
A small claw clip does the lifting that a flat crown cannot. Tie a mid height ponytail, lift the top layer of the tail, clip a mini claw clip in at the base underneath, and drop the top layer back over it. The clip acts like a shelf, spreading the strands along its length instead of squeezing them at one point, so the tail can look close to twice as wide. This idea also appears as a nape claw version in general ponytail roundups, but the hidden mini clip is the fine hair version, and matching the clip colour to your hair keeps it invisible. Skip oversized clips, which slide under their own weight and poke through fine hair. Nudge it back into place if it starts to show.
4. Teased Crown Ponytail
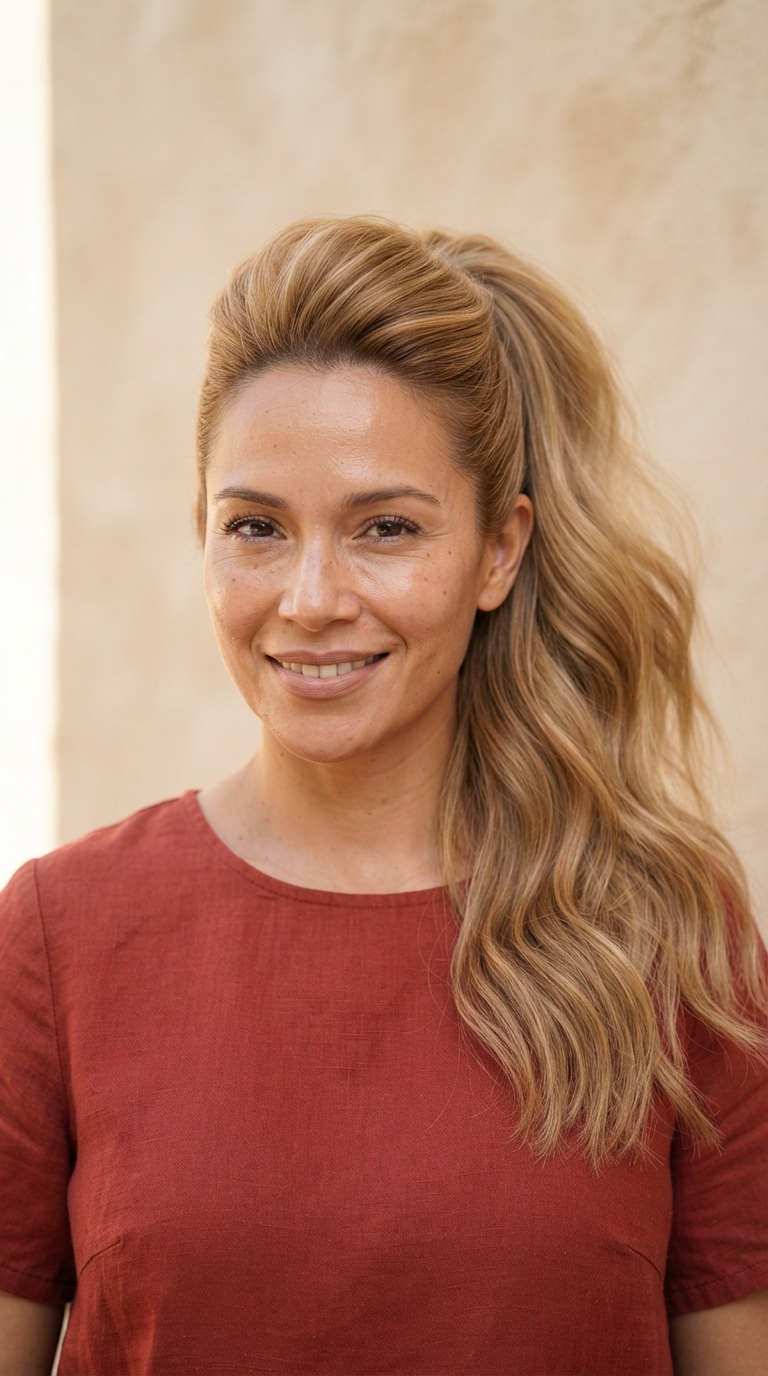
Height at the crown makes the whole style read bigger, and gentle teasing supplies it without extensions or heavy product. Lift a section at the crown and brush the underside from the mid lengths up towards the scalp, working from mid shaft down to the roots so the cushion builds where it is needed. Smooth only the surface, gather everything into the ponytail, and tease the underside of the tail itself for width. A boar bristle teasing comb grips fine hair without tearing it. Crown height lengthens a round face, and this suits straight or slightly wavy hair best. Never tease the ends, the oldest and most fragile part of the strand. At night, work conditioner through the teased area and detangle from the ends up, rather than ripping a brush through it.
5. Texturizing Spray Ponytail
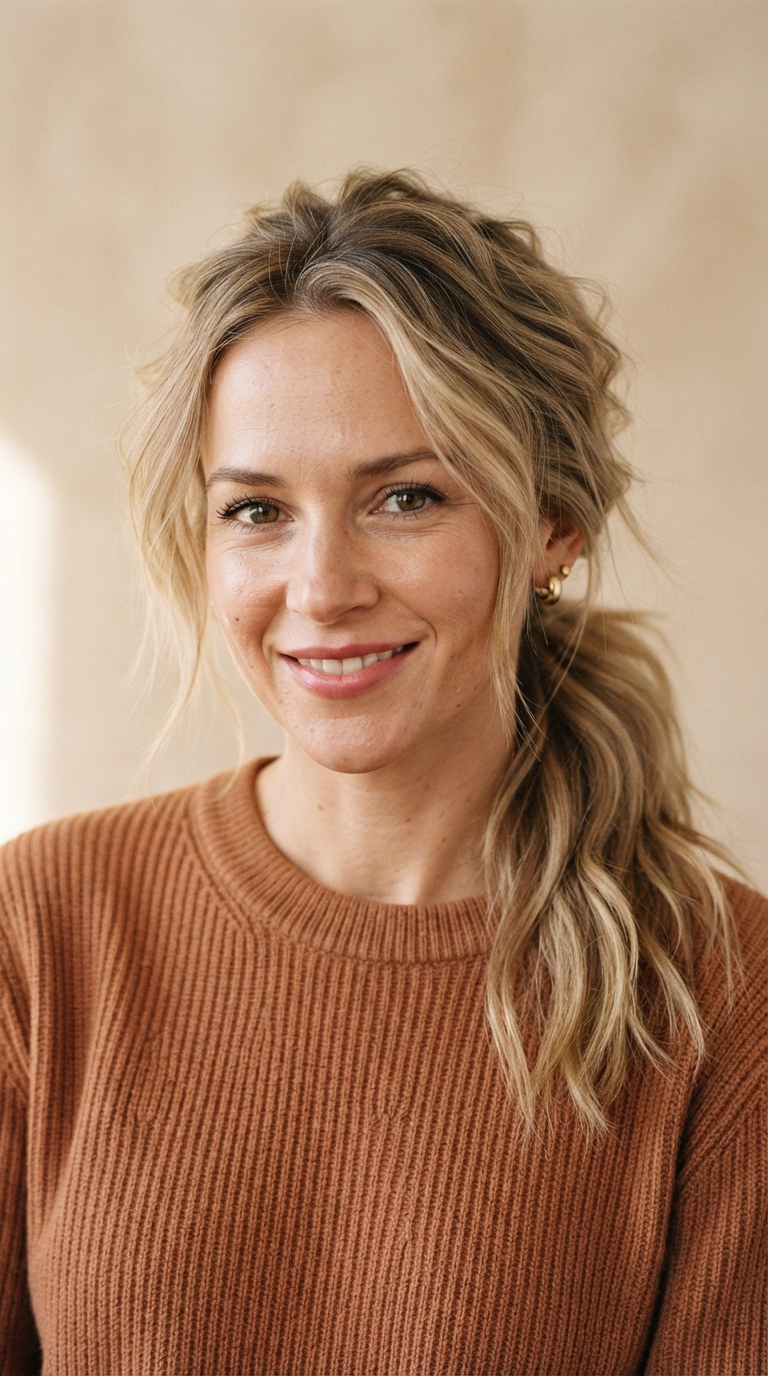
Fine hair falls flat and slips out of ties because the strands are smooth; grit is what gives a ponytail something to hold on to. Mist texturizing spray through the roots in sections before you tie, rough it up with your fingertips, then gather the hair and add your tie. The sprayed roots stay lifted instead of collapsing against the scalp, and the tail keeps the loose, undone finish that hides a sparse part better than any sleek style. This is the prep step behind most of the other looks on this list, and it suits straight fine hair that goes limp within the hour. Skip drowning the finished style in hairspray, which weighs fine hair down again. A second light mist revives it faster than starting over.
6. Hidden Bobby Pin Ponytail
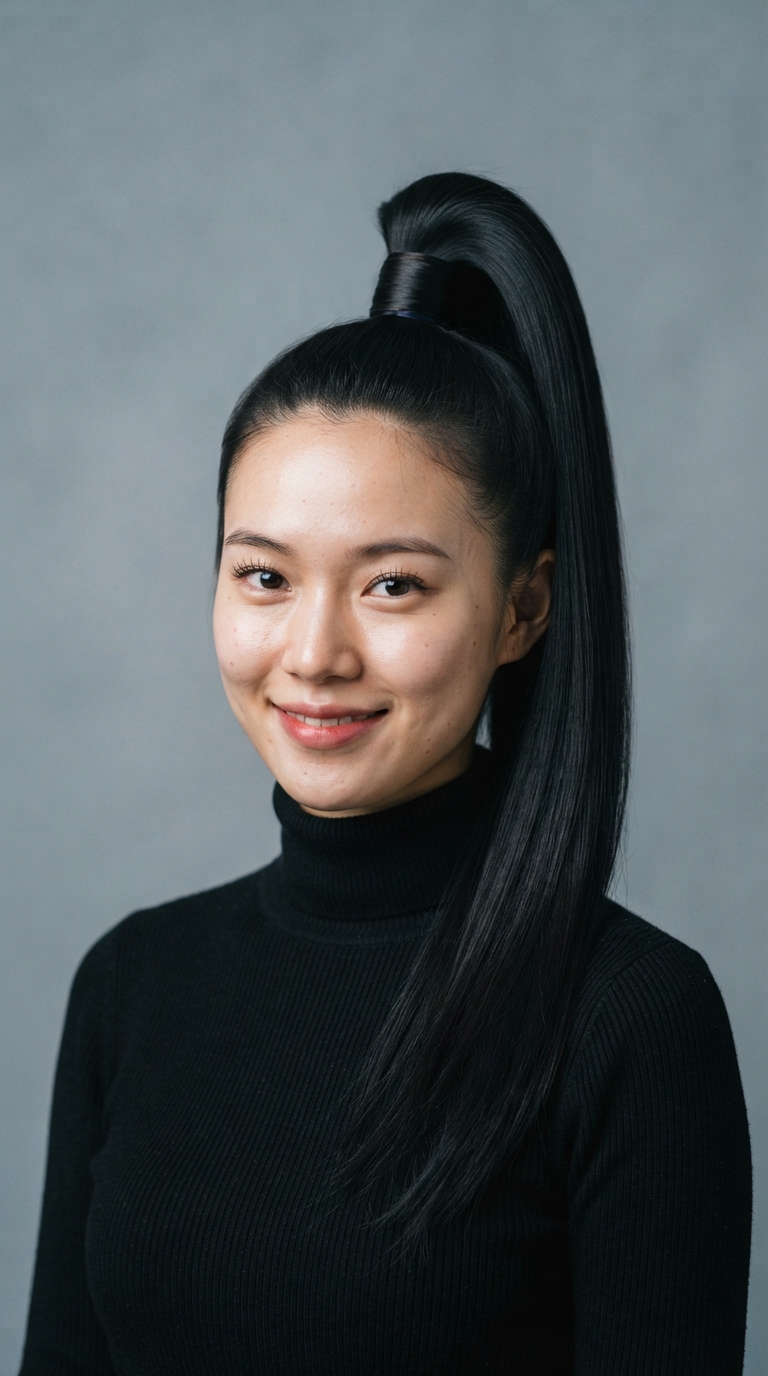
Two bobby pins hidden inside the tie hold a ponytail upright when the hair itself will not. Tie the ponytail at your chosen height, then push two pins vertically down into the elastic, one on each side, so they sit against the head inside the base. The pins prop the tail so it points out instead of drooping down the back, and a perky tail reads thicker from every angle. Stylists use the same fanning idea at the base of updos for thin hair. Use sturdy matte pins close to your root colour so nothing glints through. Skip flimsy pins that bend as you push them in. Check in a mirror that no pin end sticks out before you finish.
7. Volumizing Powder Low Ponytail

A low ponytail usually means flat roots and a stringy tail, but volumizing powder changes the base it starts from. Shake a little powder onto the roots and crown, massage it in until it disappears, then gather the hair low at the nape. The powder gives the roots a matte lift, so the hair leaves the head with body instead of lying against it, and the low tail looks deliberate rather than defeated. It suits fine hair that hates heavy products, because powder adds grip with almost no weight. Go easy: too much turns fine hair chalky and dull. This is a one product style, so it is a good weekday default.
8. Clip-In Extension Wrap Ponytail
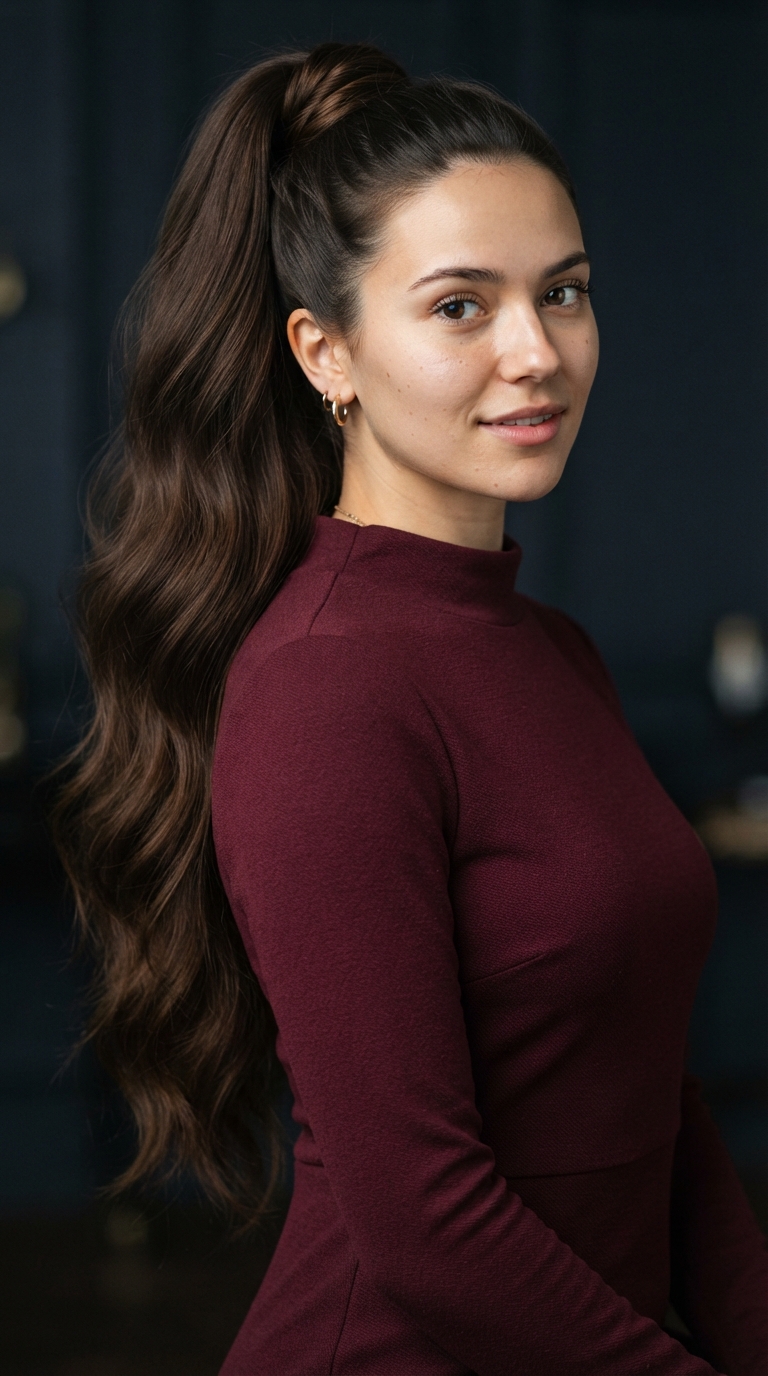
When technique is not enough, one clip-in weft adds the hair you do not have, exactly where the tail needs it. Tie your own hair into a small, firm ponytail, clip a single weft into the base, then wrap a strand of hair around everything so the join disappears. Colour match matters more than length here; a weft close to your own shade and texture blends, while a much longer one looks borrowed. This is the occasion version of the double stack, built for photographs and long evenings. Skip heavy multi weft sets on fine roots, which drag and ache by the end of the night. Brush the weft out after each wear and keep it for occasions, not daily use.
9. Messy Wave Crossover Ponytail
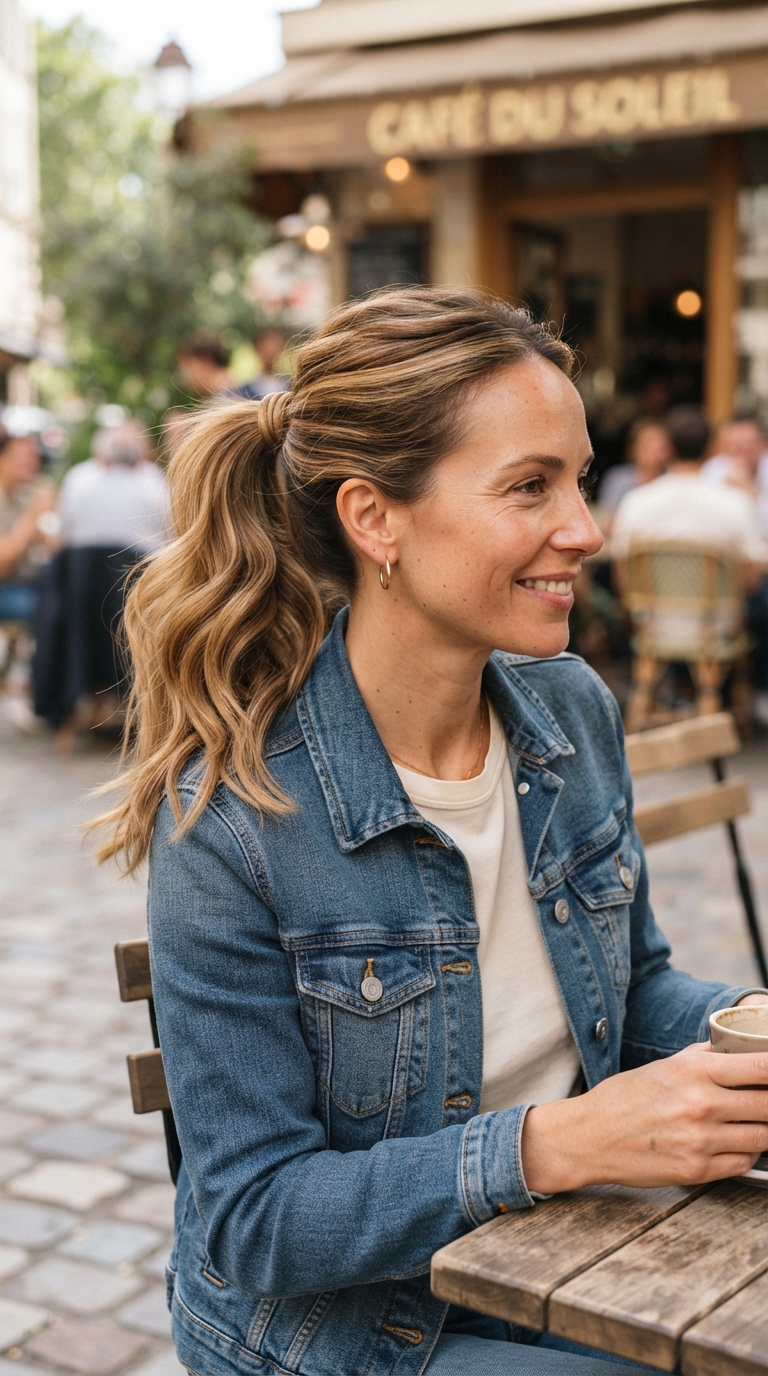
Loose waves plus a wrapped base give this ponytail width at both ends. Wave the lengths first and let them cool, tie a mid height ponytail, then take a strand from the tail and wind it over the elastic, pinning it underneath. The crossover wrap hides the tie and thickens the base, while the waves keep the tail wide instead of ropey. Fine hair scorches easily, so keep the iron at or below about 300 degrees and use a heat protectant before you start. It suits medium to long hair and softens a severe pulled back look. Skip tight curls, which spring up and shorten the tail. Any waves left the next morning can go straight into a low ponytail.
10. French Braid Crown Ponytail
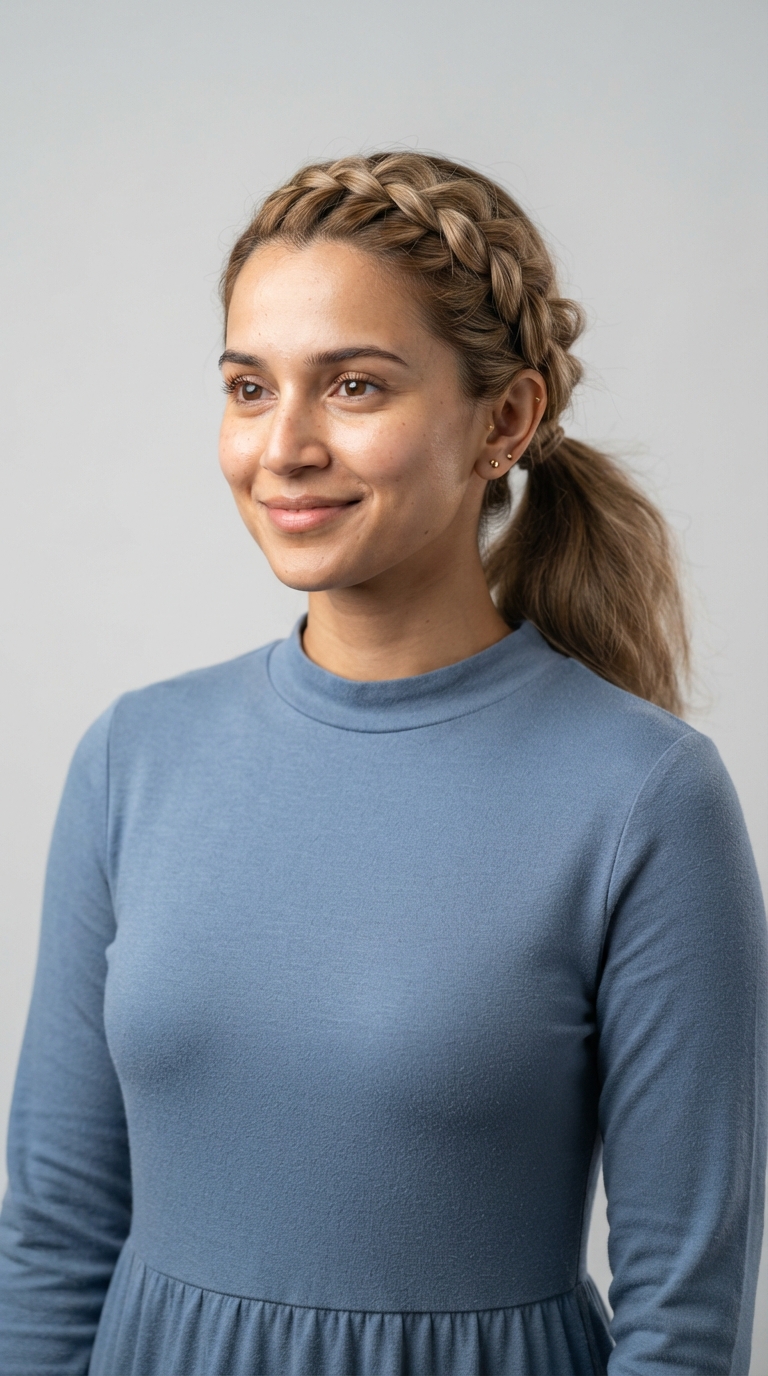
Braiding the crown before you tie puts texture and lift where thin hair lies flattest. French braid from the front hairline back to the crown, then gather the braid and the remaining hair into a ponytail. Once it is secured, tug the outer edge of each braid loop gently outwards to pancake the braid wider; that loosening is what turns a tight, scalp showing braid into a full looking one. It suits hair with some natural grip, so build it on second day hair or mist texture spray through first. Skip braiding it scalp tight, which pulls the loops flat and defeats the point. Done loosely, it holds all day without a touch up.
11. Twisted Base Ponytail
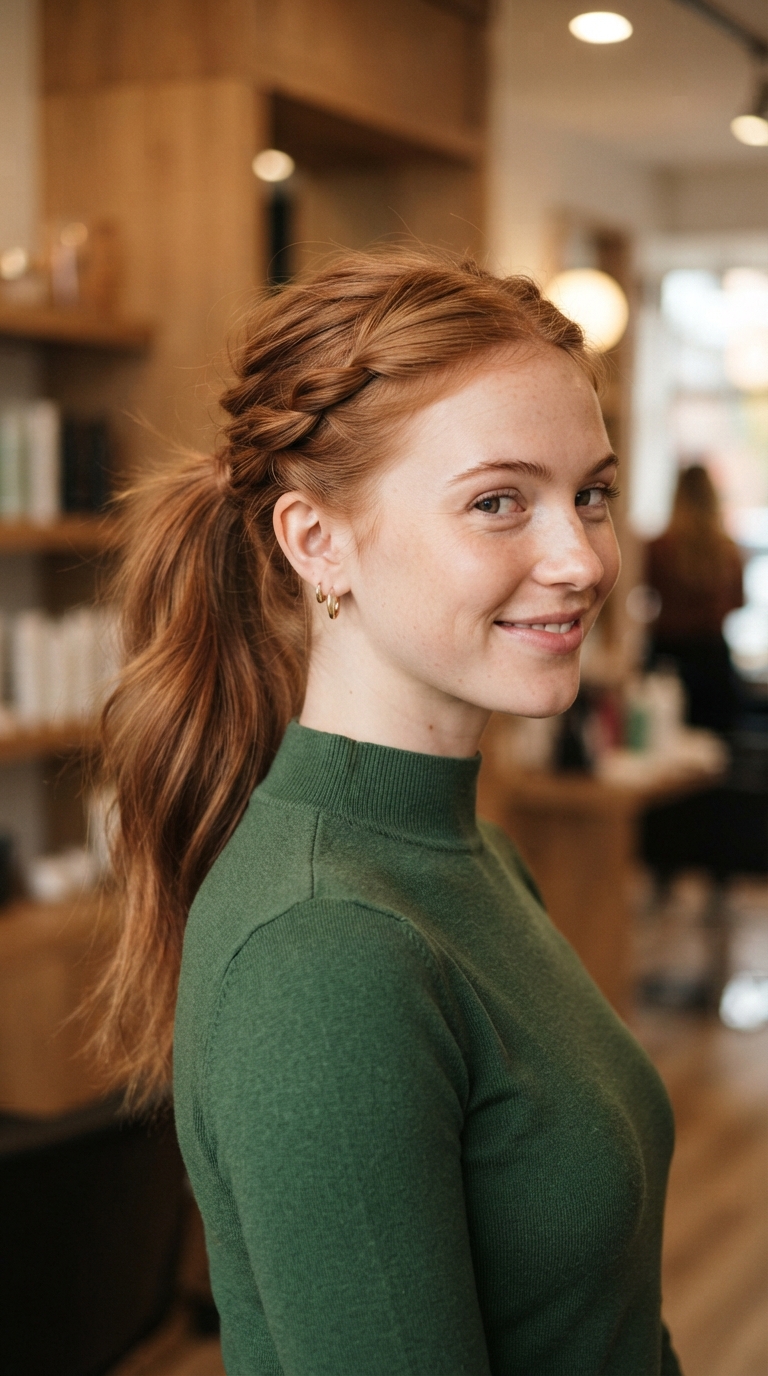
Twisting the side sections over the tie builds a crossed, rope-like base that looks far more substantial than a bare elastic. Leave two small sections out at the front sides, tie the rest into a ponytail, then twist each side section, cross them over the base one at a time, and pin the ends underneath; four bobby pins hold the whole arrangement. The twists also cover the sides of the head where a plain ponytail often shows gaps. It takes about five minutes and suits medium to long fine hair. Skip twisting so tightly that the sections thin out; a soft twist keeps its width. If a pin works loose, cross a second one over it in an X.
12. Front Pouf Ponytail
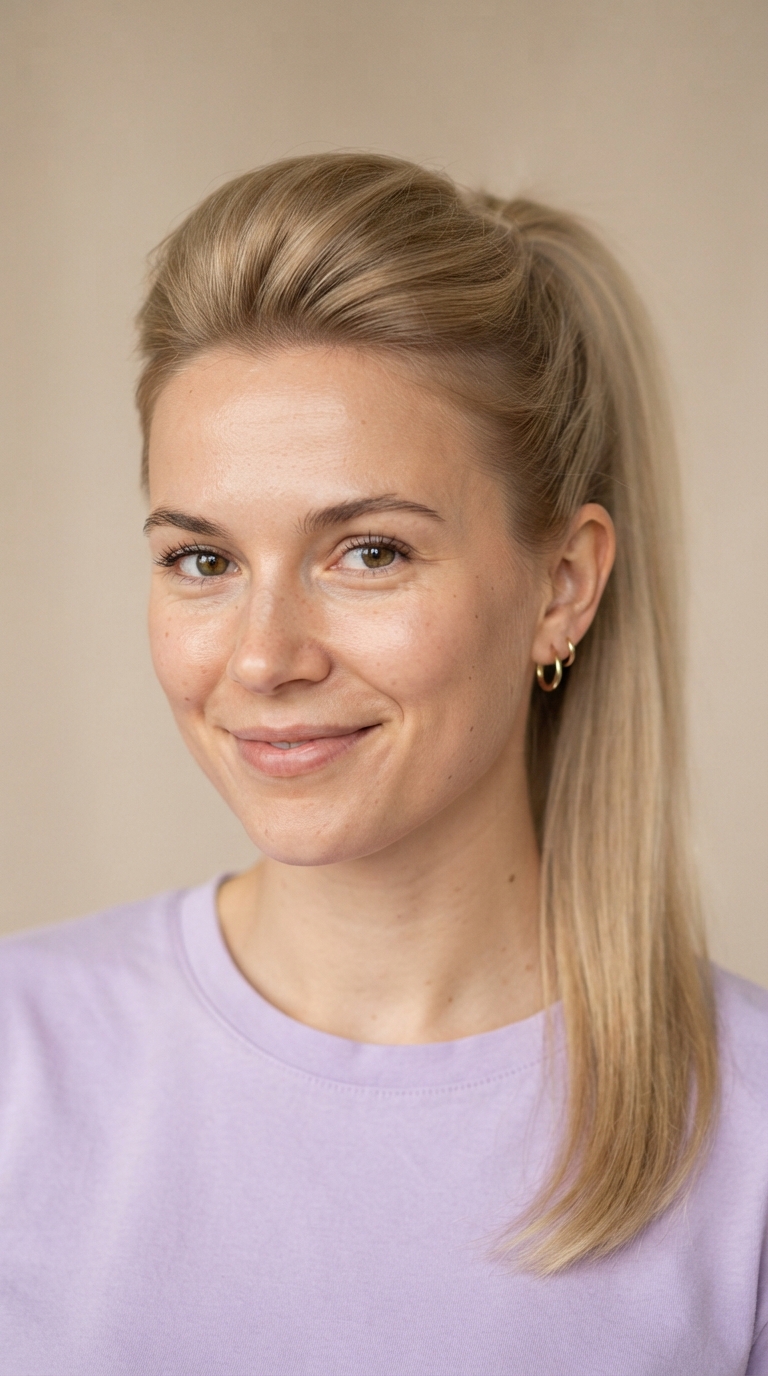
A backcombed pouf at the front borrows a retro trick: volume placed at the hairline changes the whole silhouette. Section a triangle of hair at the front, backcomb its underside, smooth the top, and pin or tie it into the ponytail so the front stands up in a soft dome. Because the height sits at the front rather than the crown, it lengthens a round face and stops the style looking scraped back. It suits fine hair that flattens at the part within minutes of styling. Skip a pouf so tall it tips into costume territory; a finger's height is plenty for daytime. Smooth flyaways with the palms of your hands rather than more spray.
13. Bubble Ponytail
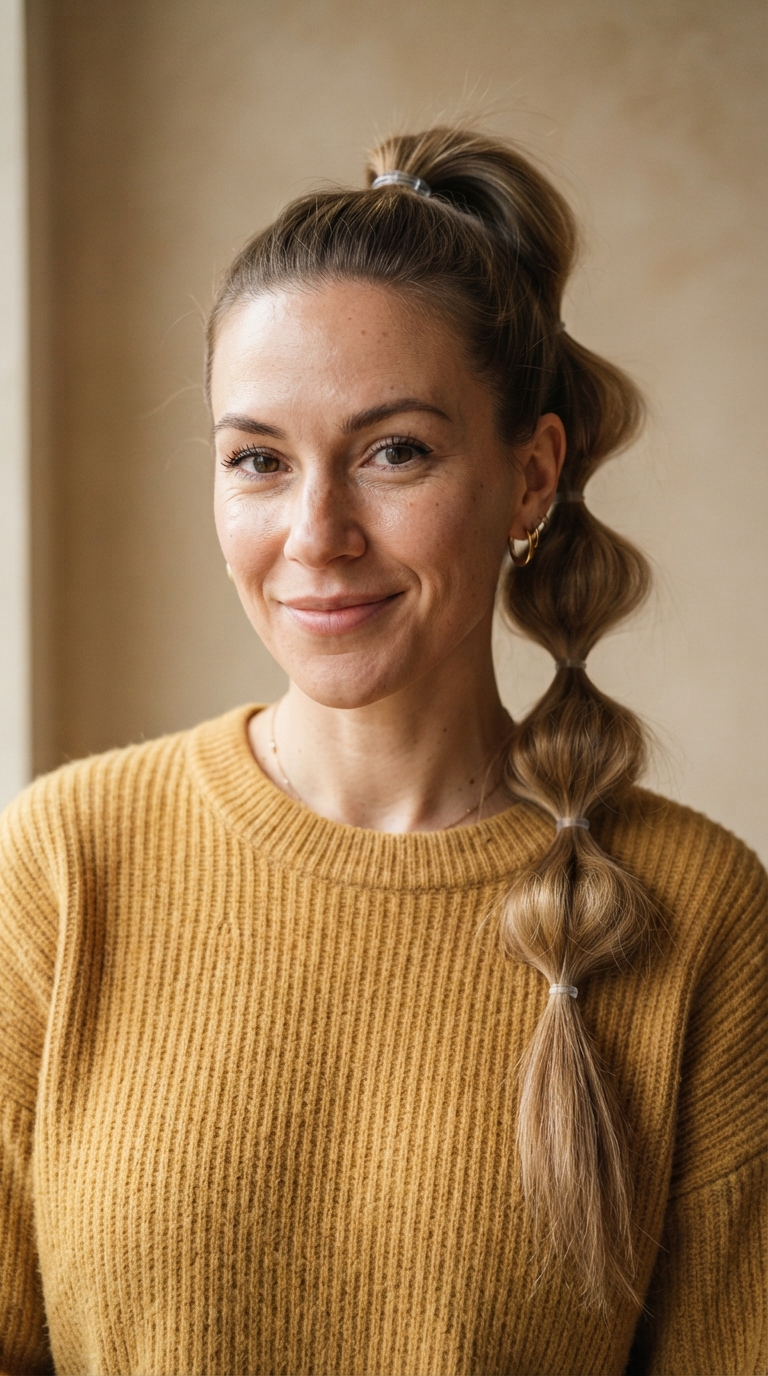
Bubbles replace one thin line with a row of rounded shapes, and the eye reads the width of the bubbles instead of the width of the hair. Tie a ponytail at mid or high height, add small clear elastics roughly every two inches down the tail, then pull each section gently outwards into a soft puff. A light backcomb near the base first gives the first bubble more body. Long fine hair carries this best, layered cuts included, because the elastics catch shorter pieces that escape a plain tail. Skip bare rubber bands, which grip fine hair and tear on removal; coated mini elastics slide off safely. At night, ease each tie off one at a time instead of dragging the stack down the tail.
14. Flipped-Through Ponytail

Flipping the tail through itself builds two rolled twists above the elastic, and those rolls add shape exactly where a low ponytail looks thinnest. Tie a loose low ponytail, open a small gap in the hair just above the elastic, push the tail up and through the gap, then pull it down gently to settle the rolls. This is the classic topsy tail move, and tucking versions of it appear in general ponytail roundups for every hair type. It suits shoulder length to long fine hair and looks polished enough for work without product. Skip leaving the gap wide open, which shows a stripe of scalp; nudge the two rolls together so they meet in the middle. Once settled, it rarely needs attention all day.
15. Scrunchie Ponytail
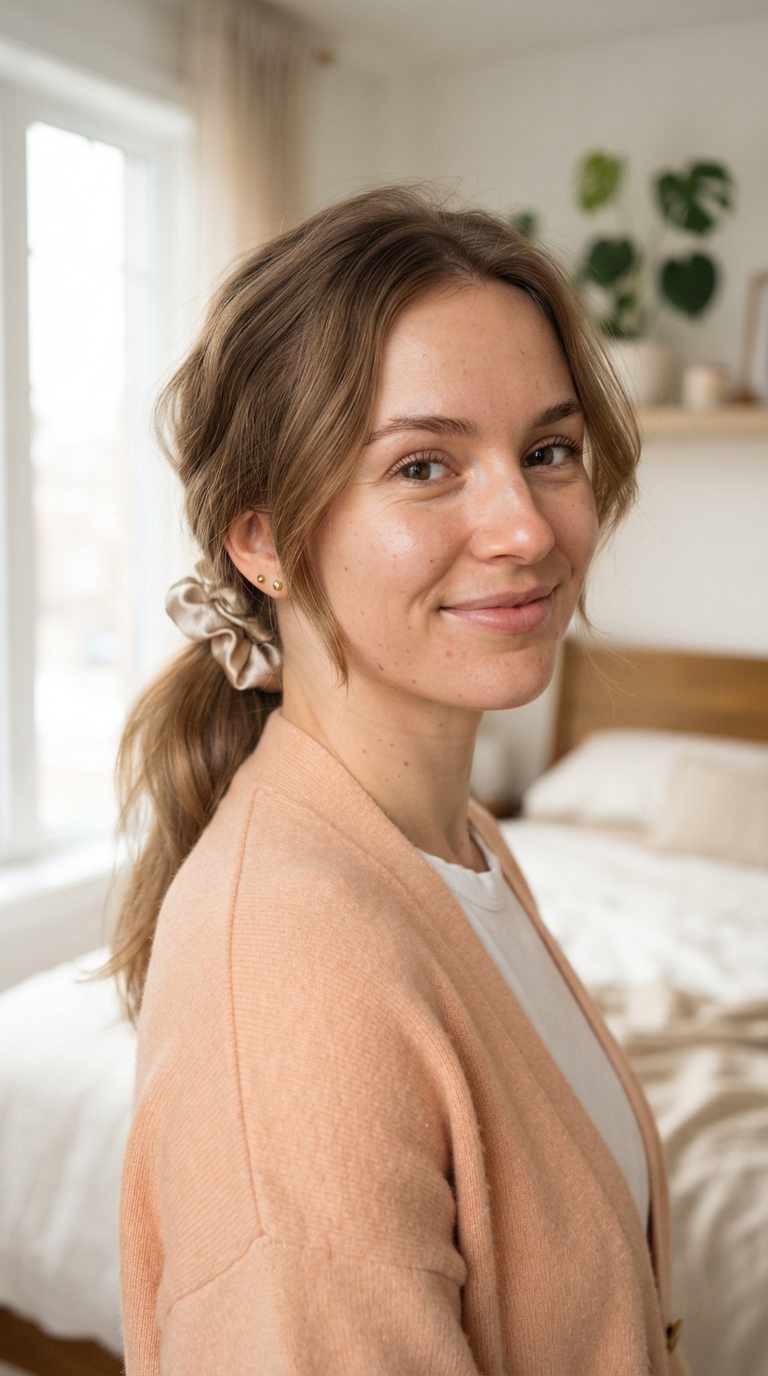
A scrunchie adds bulk at the base for free, but only when its size matches the tail holding it. An oversized scrunchie dwarfs a slim ponytail and makes it look smaller by contrast, so pick one roughly the width of your gathered hair; the fabric should look in proportion, not like the main event. Silk or satin spreads the pressure over more strands than a bare elastic, which is why this version suits breakage prone fine hair so well. Tie it at whatever height you like, then loosen the crown slightly with your fingertips so the roots do not sit flat. Skip thin rubber elastics underneath, which crease and grip where the scrunchie is meant to be gentle. Wash the scrunchie when product builds up and it starts to slip.
16. Wavy Ponytail

Straight fine hair collapses into a narrow rope the moment it is tied; waved hair occupies far more space. Add curls or loose waves through the lengths, let them cool completely so the shape sets, then gather the hair and shake the tail out with your fingers rather than brushing it smooth. Curling in small sections after the ponytail is tied works too, and packs in even more volume at the tail itself. Keep hot tools at or below about 300 degrees for fine hair, with heat protectant first. It suits long, straight, slippery hair that normally escapes a tie within the hour. Skip tight ringlets, which spring up, shorten the tail and make it look sparser. Second day, the leftover waves revive with dry texture spray.
17. Half Ponytail

When there is not enough hair for a full ponytail to look substantial, tie only the top half and let the rest do the work. The lengths left down keep density around your shoulders, while the small crown ponytail lifts the top of the head and gives the illusion of thicker hair overall. Section from the temples back to the crown, add a little texture or a small clip underneath for hold, and secure with a soft tie. It suits bobs, lobs and layered fine hair, because nothing has to stretch to reach the tie. Skip a hard straight section line, which exposes the scalp along the part; zigzag the parting with the tail of a comb instead. Beyond re-fluffing the crown, it asks for no maintenance.
18. Braided Ponytail
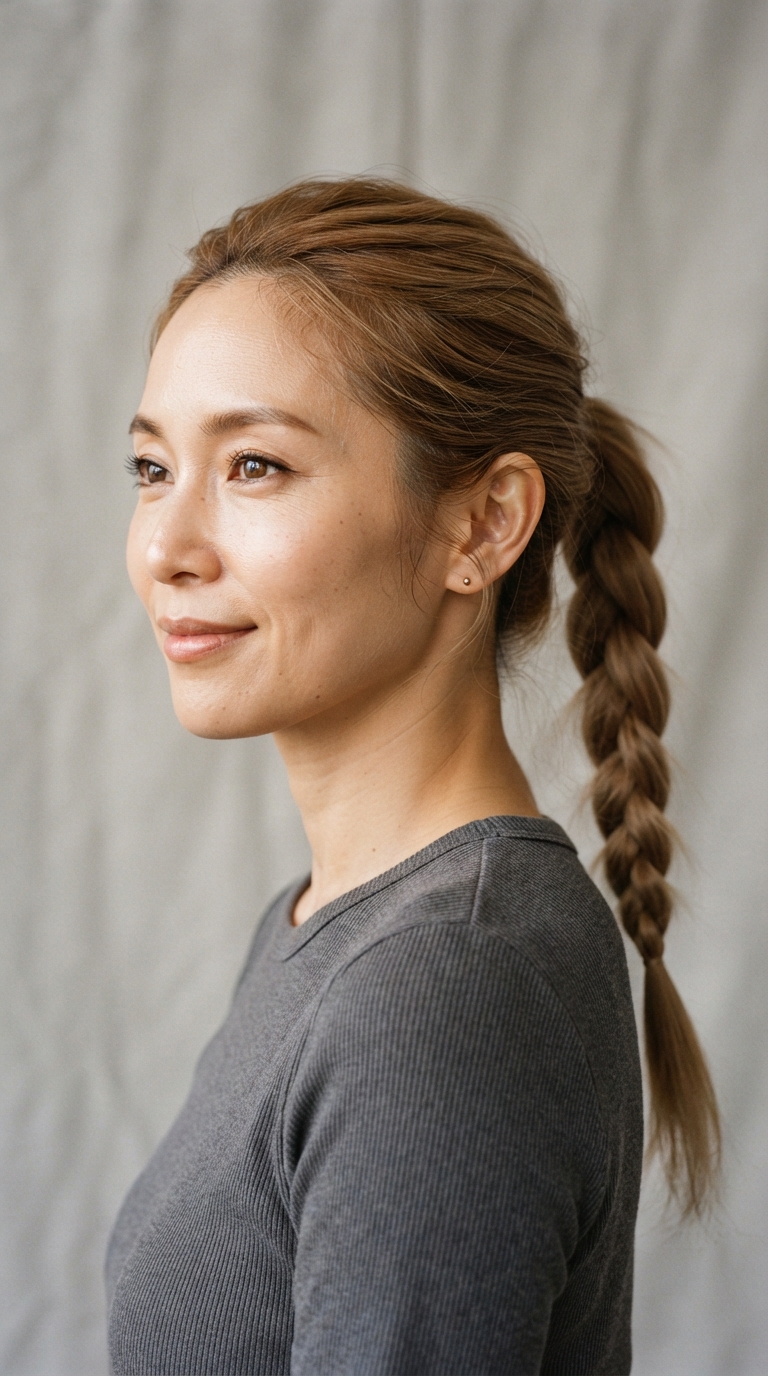
Braiding the whole tail turns a narrow length into a flat, wide ribbon once the braid is loosened. Tie a ponytail at your preferred height, braid the length in a simple three strand braid, secure the end, then tease out and tug the strands of the braid gently so it widens and softens. Texture added before braiding makes the hair appear fuller and stops fine strands slipping out of the braid. It suits long fine hair with few layers, since short pieces pop out of a braid and spoil the line. Skip it on freshly washed, slippery hair unless you mist texture spray through first. Undoing it at night leaves soft waves behind for the next day.
19. Retro Bouffant Ponytail
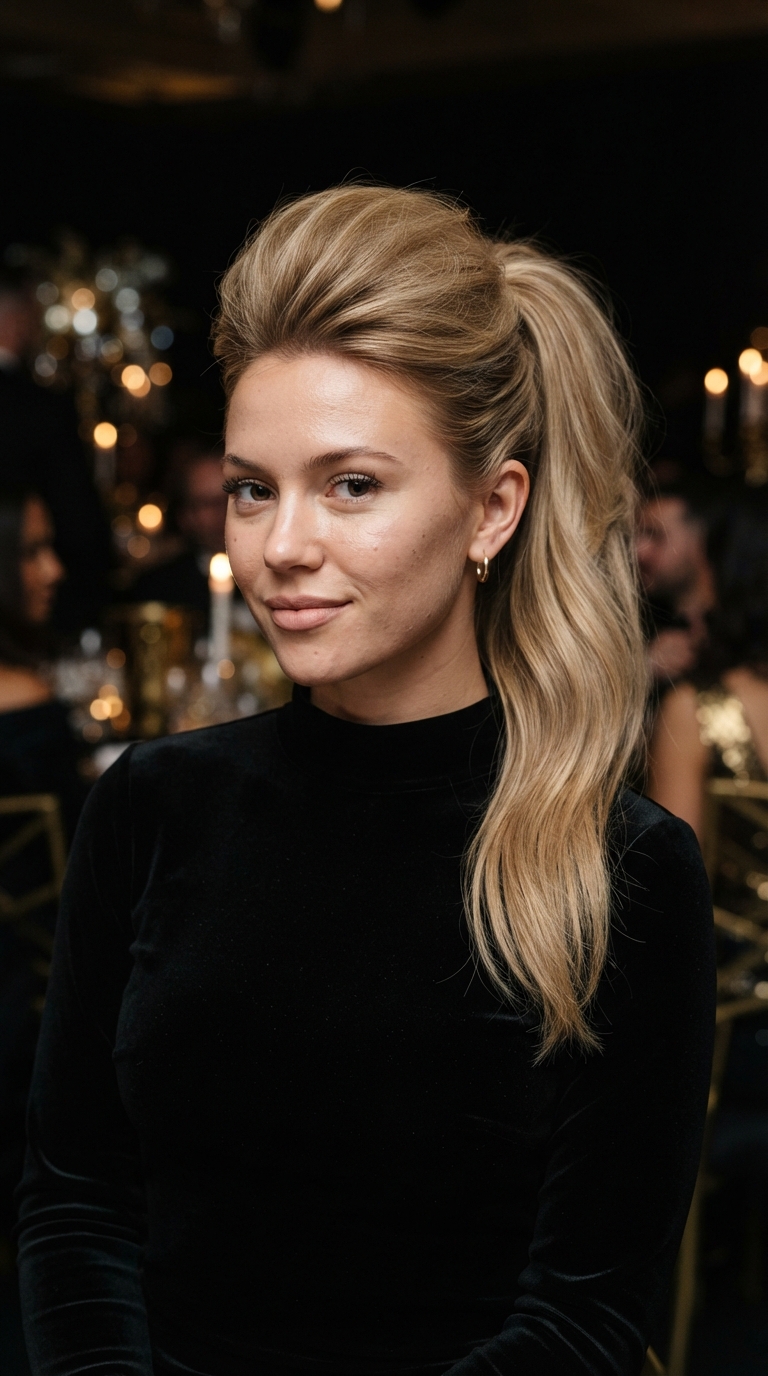
The bouffant is the dressed up end of teasing: a lightly backcombed top section swept into a high ponytail for a night out silhouette. Backcomb the crown section in small layers, smooth the surface over the cushion, and tie high so the dome and the tail read as one long line of volume. It is the same principle as the teased crown, pushed further for evening, and it photographs beautifully because the height shows from the front. It suits medium to long fine hair and pairs well with the flipped or wrapped base if you want detail at the tie as well. Skip heavy gel to hold it; that collapses the backcombing you just built. A light flexible spray over the surface is enough.
20. Fishtail Ponytail

A fishtail braid has more edges than a plain braid, and every edge is a chance to widen it. Tie a low or mid ponytail, split the tail in two, and cross small strands from the outside of each half into the opposite side all the way down. Secure the end, then tug the braid apart section by section, working from the bottom up, until it lies flat and wide. The finished braid covers far more width than the same hair hanging loose, which is why it flatters fine hair so well. It suits long hair with few layers and needs texture spray first on slippery hair. Skip pulling it drum tight; a strangled fishtail narrows to almost nothing. It holds all day and needs no mirror checks.
Every full looking ponytail on this list works the same way: the hair is spread over a wider base, stacked so one section supports another, or given texture before the tie goes in, never simply pulled tighter. Split ties, hidden clips and pins all widen the base. Stacked, half and flipped styles all borrow density from somewhere the eye cannot check. Once the base is wide and the tail is textured, the ponytail stops reporting how much hair you have and starts reporting how it was built.
One heat note covers the waved and curled looks here: mist a heat protectant through the hair before any hot tool touches it, and keep irons at about 300 degrees or lower, because fine hair scorches faster than thicker hair at salon temperatures. Let curls cool completely before gathering them, since warm hair tied up falls straight within the hour. For second day hair, skip the heat entirely: dry texture spray at the roots and a quick re-fan of the tail restores most of the volume in under a minute.
Frequently Asked Questions
Why does my ponytail look so thin?
A standard ponytail gathers every strand into one small point, so the tail can only ever be as wide as the bunch in your hand. Straight, smooth strands then lie flat against each other, and any body the hair had when loose is pulled out by the tension of the tie. Flat roots make it worse, because hair pressed to the head lets the scalp show through at the part and hairline. The fix is structural, not tighter: stack two ties, prop the base with a clip or pins, or add texture and waves before tying.
How can I make a thin ponytail look fuller without extensions?
Start with the double stack, which layers one tail over another so the two read as one long, full ponytail. The split tie trick props a single tail up from its own base, and a mini claw clip hidden under the top layer spreads the hair instead of squeezing it at one point. Waves added before tying occupy more room than straight hair, and texturizing spray at the roots gives slippery strands the grip to stay fanned out. Teasing the underside of the crown adds height on top of all of that. None of these needs added hair.
Do ponytails damage thin hair?
They can, if they are too tight or always worn in the same spot. Fine strands are weaker than coarse ones, and a tight elastic concentrates tension on the same ring of hair every day, snapping strands at the tie and straining the front hairline. Rotate the ponytail position so the tension moves around, and use soft ties such as silk scrunchies instead of bare elastics. Short broken pieces around the face and a sore feeling at the base are the warning signs to change height and loosen up.
Which ponytail height is most flattering for thin hair?
A high ponytail lifts the features and gives a youthful read, but it also shows the underside of the tail and the nape. Mid and low ponytails are the classic, elegant options and keep the base better covered on fine hair. One stylist rule worth stealing is to follow the jawline: imagine a line running from the jaw, over the ear, to the back of the head, and sit the ponytail along it. Whatever the height, the propping tricks matter more than the position; a stacked or split base looks fuller at any height.
How do I stop a fine hair ponytail slipping out?
Slipping is a texture problem before it is a tie problem. Build the ponytail on second day hair, or fake that grip with dry shampoo or texturizing spray worked into the roots before you tie. Avoid running silicone heavy serums through the lengths beforehand, since they make fine strands slide against each other. A coil tie or a scrunchie grips without the damage of a bare elastic, and the hidden bobby pin trick anchors the base if your hair is very slippery. If the tail still migrates down, re-tie it slightly lower rather than pulling the same tie tighter.