How to Trim Curly Hair Ends at Home Without Losing Length

Quick Answer: Trim curly hair when it is dry and styled the way you wear it. Work in small sections, check one curl at a time, and snip only the rough end of that curl without pulling it straight. Take off less than you think you need. Curly hair shrinks as it dries, so a small dry snip is easy to fix and a big one is not.
Curly ends are the oldest part of the hair. They have been washed, brushed and styled more times than the rest, so they split and tangle first. Once an end splits, the split can travel up the strand if it stays there. A small trim removes the damaged tip before the damage spreads.
A trim is not a haircut. The goal is to clean up the ends and keep the shape and length you already have. This guide walks through a dry curl by curl trim at home, step by step, with the mistakes to avoid.
Time: about 45 to 90 minutes. Difficulty: Intermediate. Steps: 7.
What You'll Need
-
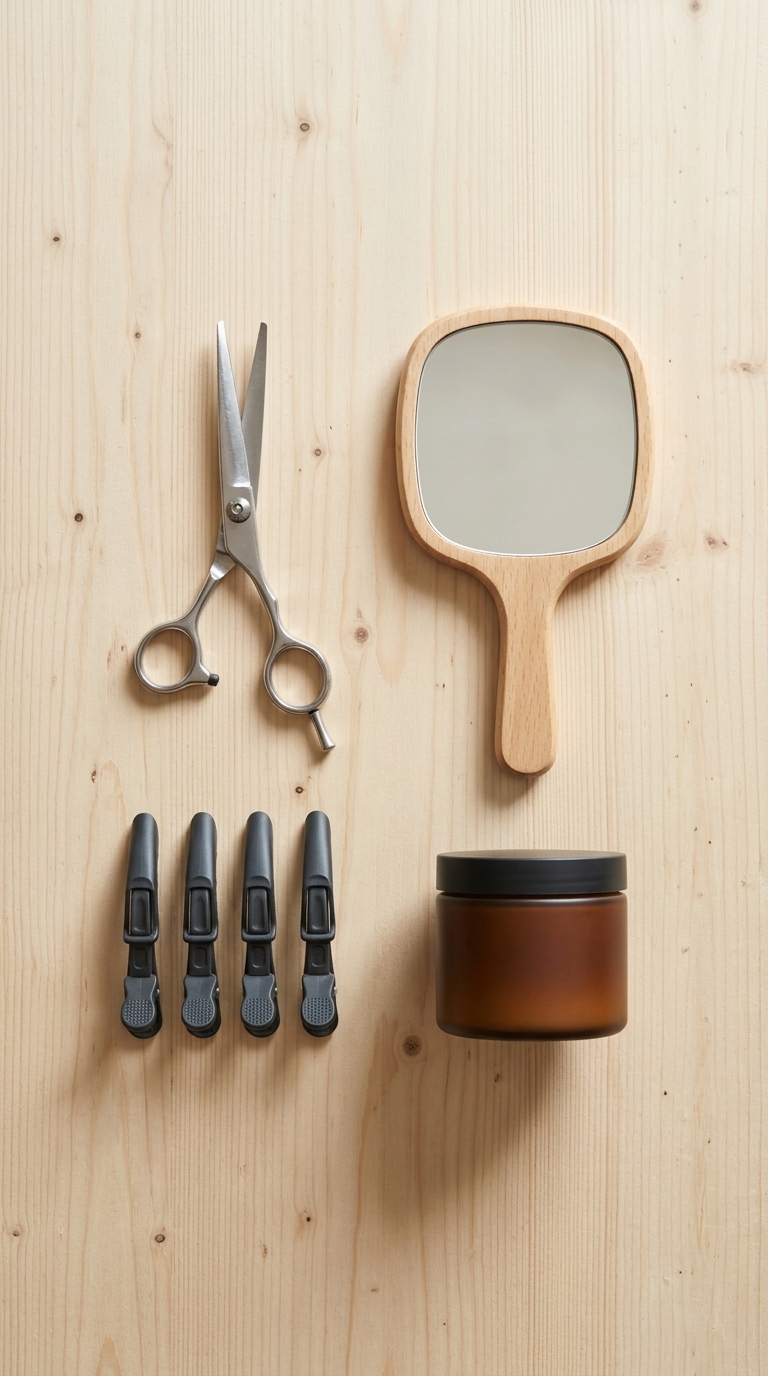
Hair shears made for cutting hair, because sharp shears cut clean and do not crush the end of the strand
-
A handheld mirror, so you can set up two mirrors and see the back of your head
-
Sectioning clips, to hold the hair you are not working on out of the way
-
A curl cream or leave-in styler, to style your curls the way you wear them before you start
Step 1: Pick the Right Day for the Trim

Timing matters more than most people think. Plan the trim for 2 to 3 days after wash day, when your curls have settled into their normal pattern and any product stiffness has softened. Hair looks different on wash day. It is often fluffier and less defined, so the ends you see are not the ends you live with.
Why it works: you judge each curl by how it really falls day to day. If the curl sits shorter or longer in normal life, you want to know that before you cut it, not after.
Pick a time when you are not rushed. A first dry trim can take up to 90 minutes, and rushing is how too much hair comes off.
Step 2: Cut on Dry Hair, Styled the Way You Wear It

Style your hair the way you wear it most days and let it dry fully before you pick up the shears. Curly hair stretches when it is wet and springs up as it dries. The same curl can look several inches longer wet than dry.
Why it works: cutting dry shows you the true length of every curl in real time. You see the result of each snip right away, so you cannot take off more than you planned by accident.
Never cut curly ends wet for this kind of trim. Wet cutting hides the shrinkage, and the hair often ends up shorter than you wanted once it dries.
Step 3: Set Up Your Tools, Mirrors and Light First

Set everything up before you start. Put your shears, clips and handheld mirror within reach. Stand in front of a fixed mirror and hold the handheld mirror so you can see the back of your head. Work in bright, even light so you can see the ends clearly.
Why it works: split and rough ends are hard to see in dim light. Good light is the difference between trimming the damaged tip and guessing. A two mirror setup also stops you from twisting around mid snip, which can pull a curl out of its natural fall.
Use shears made for hair, never kitchen or paper scissors. Dull blades bend the strand as they cut and can leave a rough edge that splits again fast.
Step 4: Work in Small Clipped Sections

Divide your hair into small sections and clip the rest up and out of the way. Work on one section at a time, starting at the front where you can see best, then move to the sides and the back with your mirrors.
Why it works: small sections keep you from missing ends or cutting the same curl twice. Most home trims go wrong because hair gets mixed together and one area gets trimmed more than the rest.
How many sections depends on how thick your hair is. Thick hair needs more, smaller sections. Thin hair needs fewer. If you lose track of where you are, the sections are too big.
Step 5: Check Each Curl Before You Cut It

Take one curl at a time. Let it fall the way it wants to fall, then look at the end closely. A healthy end feels smooth and keeps the curl shape to the tip. An end that needs trimming looks thin, see-through, rough or split. It may feel brittle, knot into tiny single strand knots, or the curl may turn wispy and stop curling at the end.
Why it works: not every curl needs the same amount taken off. Some ends only need a tiny dusting. Some curls may not need cutting at all. Checking first is what keeps your length safe.
Run the end between your fingers. If it feels rough or catches, that part needs to go. If it feels smooth, leave it alone.
Step 6: Cut Curl by Curl With Small Snips
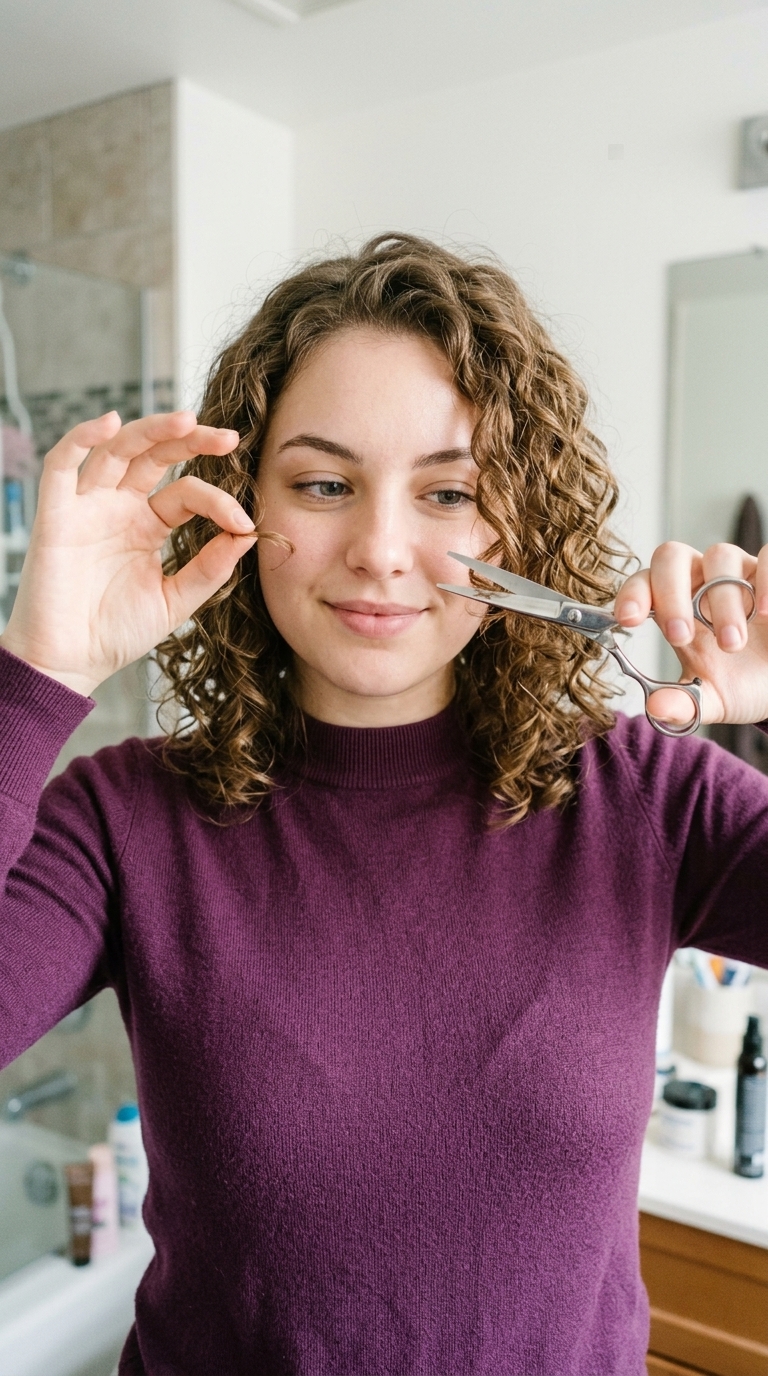
Hold the curl gently in its natural shape and snip only the damaged tip, just above where the curl turns thin or frayed. Take off half an inch at most, and often just a fraction of an inch is enough. Cut near the end of the curl's natural curve, so the lock still ends as a complete curl. You can always take off a little more. You cannot put any back.
Why it works: small snips match the way curls grow and fall. Each curl has its own length and spring, so cutting curl by curl keeps the shape even without a straight guide line.
Never pull a curl straight to cut it. A pulled curl is stretched longer than its real length, so it springs up much shorter when you let go. Let the curl hang and coil as it normally does, and cut at the end of the curl where the damage sits.
Step 7: Check the Shape, Then Wait a Few Days

When every section is done, shake your hair out and check the shape from the front, sides and back with your two mirrors. Look for any curl that clearly sticks out longer than the rest and fix only that one.
Then stop. Why it works: curls need a few days and at least one wash to settle after a trim. The shape you see an hour later is not the final shape. Wait a few days before you judge the result or decide to cut more. Many people cut again too soon and end up shorter than they wanted.
Common Mistakes
-
Cutting wet hair, then finding it much shorter once the curls dry and shrink
-
Pulling curls straight to measure them, which leads to cutting off too much
-
Using dull kitchen or paper scissors that crush the end instead of cutting it clean
-
Cutting in big handfuls instead of one curl at a time, which leaves the shape uneven
-
Judging the shape the same day and cutting more before the curls have settled
Pro Tip
If this is your first home trim, take off half of what you think you need. Live with it for a week. Your ends will still look cleaner, your length stays safe, and you can do a second small pass later if some ends still feel rough. Small and safe beats brave and sorry every time with curly hair.
The Bottom Line
A good home trim for curly hair is slow and small. Dry hair, styled as worn. Small sections. One curl at a time. Tiny snips, no pulling. Do that, and you keep your length while the rough, split ends come off, which is the whole point of the trim.
FAQs
How often should curly hair be trimmed?
Guides differ a little. Some say every 6 to 8 weeks, because curly hair is dry and breaks easily. Others say a trim every 3 to 4 months is enough for healthy hair. Hair grows about half an inch a month on average. A simple way to decide is to check the ends every month or two. If the tips knot fast, feel brittle or stop curling, it is time.
Is it better to trim curly hair wet or dry?
Dry, for a home trim like this one. Wet curls stretch and look longer than they are, so it is easy to cut off too much. Dry hair shows the real length and shape of every curl as you go.
How much should I take off?
Half an inch at most per curl for a normal trim, and often just a fraction of an inch. Small snips go a long way on curly hair because of shrinkage. If you only have light damage, take off less, just the rough tip of each curl.
Can I use regular scissors?
No. Use shears made for cutting hair. They are sharper and cut the strand clean. Dull household scissors bend and crush the hair as they close, and a crushed end can split again soon after.
When should I see a curl specialist instead?
See a specialist if you want a new shape, a big length change, or layers you do not have now. Also go in if your hair is badly damaged, breaking off, or a home trim came out uneven. A trim cleans up ends. A reshape is a different job.