How to Get Heatless Curls on Thick Hair

Quick Answer: Start when your hair is about 80 percent dry. Work mousse or curl cream through it. Wrap one inch sections around flexi rods or twist them. Leave the set in until the thickest section at the nape is fully dry. That usually means overnight. Then unwrap and separate.
You set your hair in rods before bed and slept on them. In the morning you unwrapped them, and the top curls looked great. Underneath they were limp and still slightly damp, and by lunch the whole head had dropped into loose bends.
That is the most common complaint about heatless curls on thick hair, and it is almost never the method's fault. Thick hair holds much more water than fine hair, it carries more weight, and it needs a different plan from a generic tutorial.
This guide is built around that plan. You will learn how damp your hair should be before you start, why smaller sections matter more than any product, which methods cope with thick hair, and how to tell when your hair is dry enough to take down. You do not need a salon or any heat. You need an evening and the right setup.
Time: 30 to 45 minutes to set, plus 8 to 10 hours to dry. Difficulty: Intermediate. Steps: 9.
What You'll Need
-
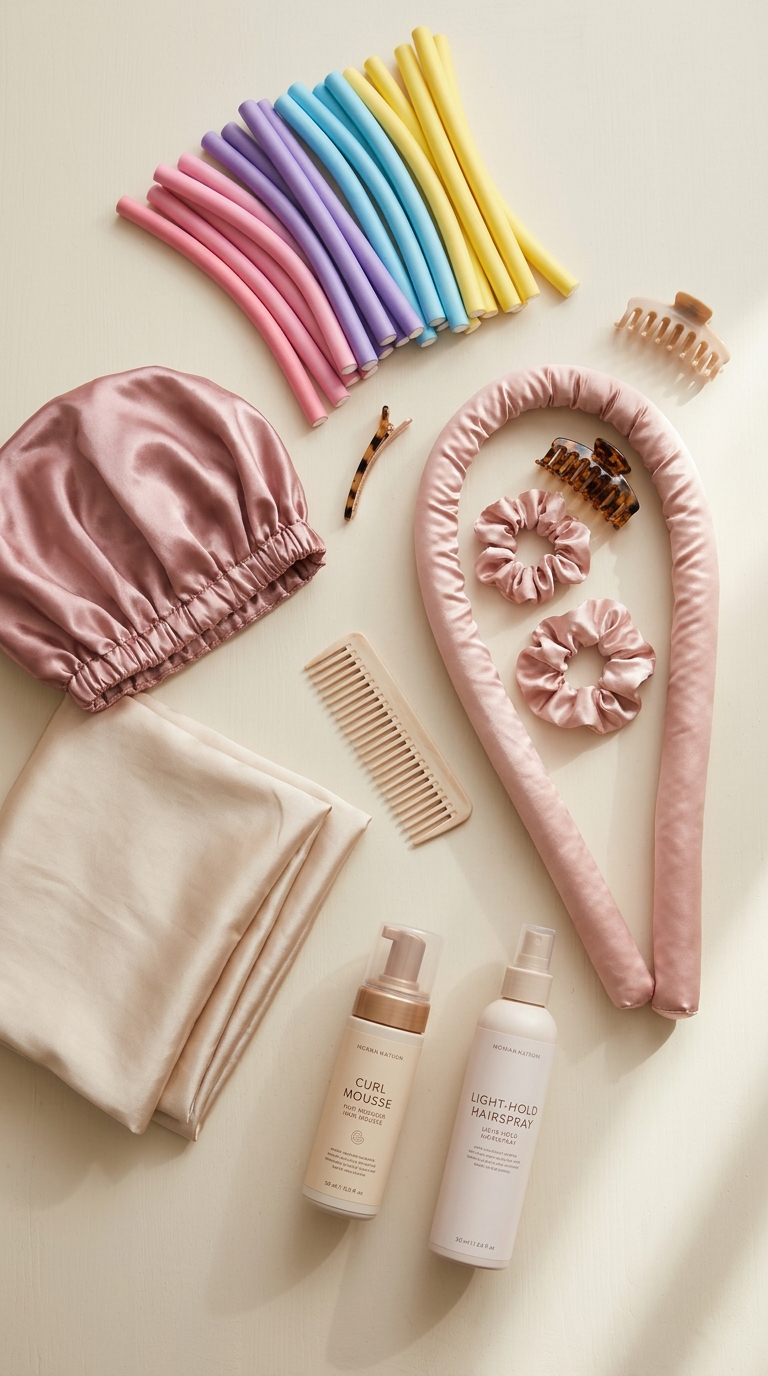
Foam flexi rods, they hold small one inch sections of thick hair in an even way, which gives a defined curl and a set that dries all the way through
-
A satin heatless curling rod, a comfortable choice for the night if you want soft bouncy waves, but on thick hair you must split the hair into thin wraps across it
-
Curl mousse or curl cream, it gives damp hair the hold and definition it needs to keep its shape once dry
-
A satin bonnet or a silk pillowcase, it cuts down friction while you sleep, so the set dries without frizz or flat spots
-
A light hold flexible hairspray, it locks the separated curls in place without stiffness, so they last into day two or three
Step 1: Start With Hair About 80 Percent Dry
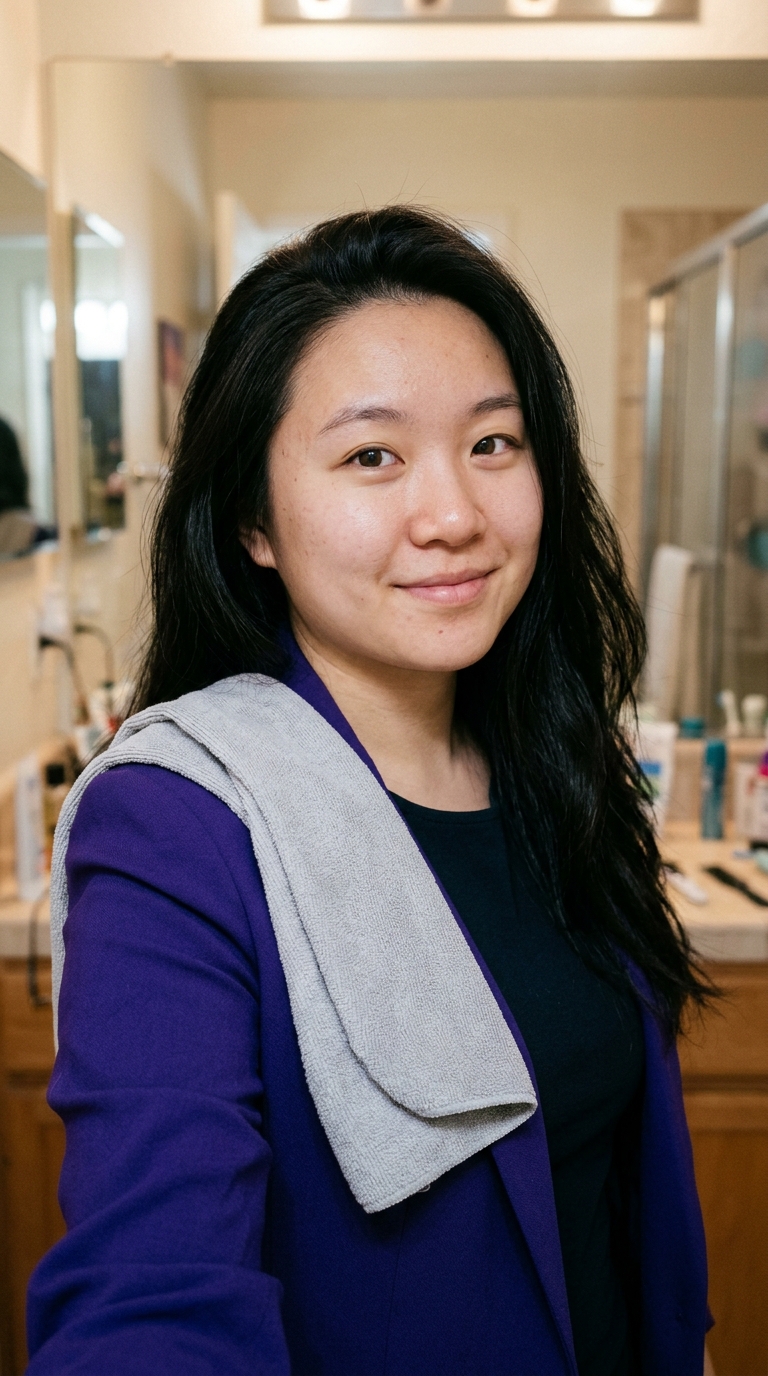
Wash and condition as usual. Squeeze the water out with a microfiber towel or a cotton T-shirt. Let your hair air dry, or rough dry it on low with a blow dryer, until it feels cool and slightly damp. When you squeeze a section, no water should come out.
Why it works: a curl sets as your hair dries in its new shape. Wet hair loosens the weak links inside each strand, and those links reset as the hair dries. Thick hair holds a lot of water, so dripping wet sections are often still damp inside by morning, and those are the curls that drop by noon. Hair that is fully dry has nothing left to set.
Step 2: Work a Hold Product Through Damp Hair
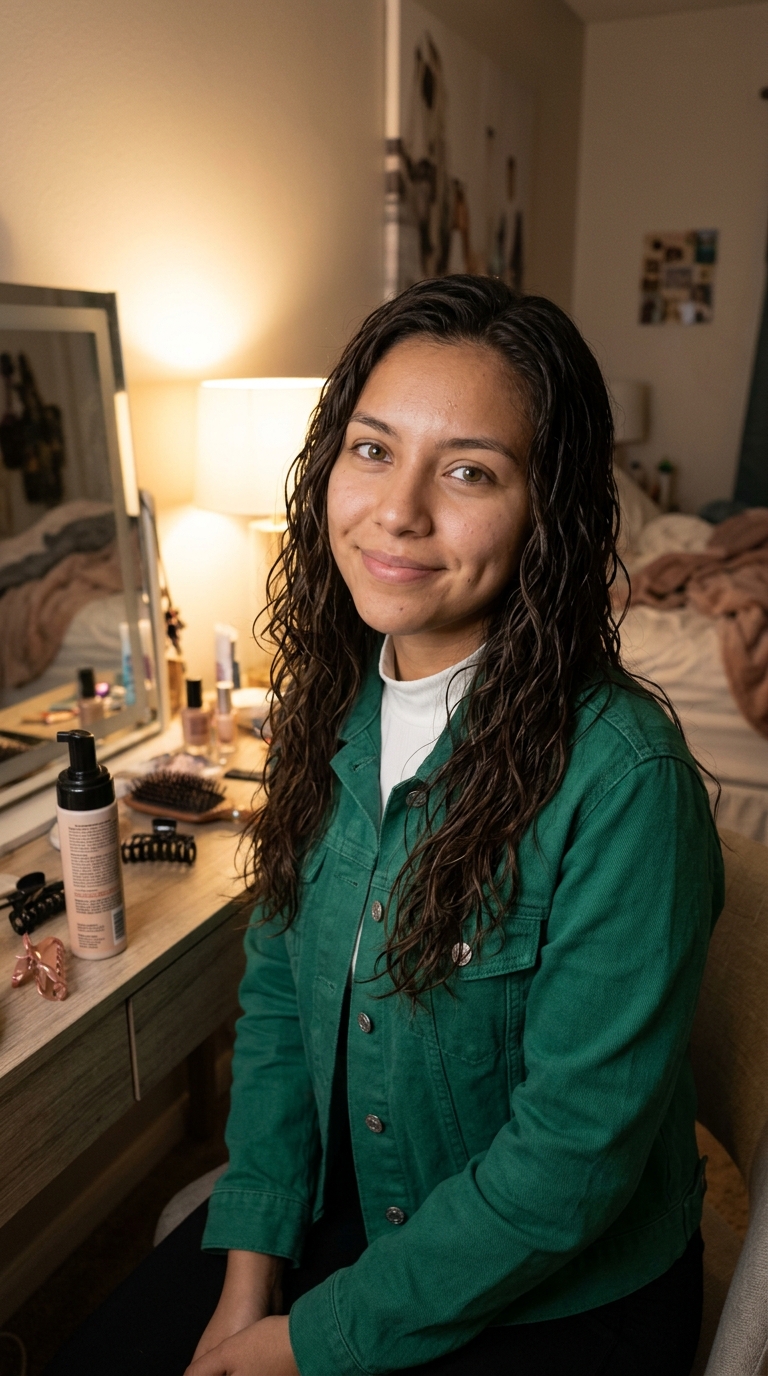
Work your hold product through while the hair is still damp. Choose mousse for volume and a lighter hold, or curl cream if your hair is coarse or dry and frizzes fast. Use a palm sized amount for each quarter of your head instead of one blob on top. Comb or rake it through from the mid lengths to the ends.
Why it works: mousse gives each strand a light flexible film that helps it keep the shape it dries in. Curl cream adds moisture so the curl clumps together and holds up in humidity. Stop when every section feels coated in an even way but not sticky.
Step 3: Pick a Method That Suits Thick Hair
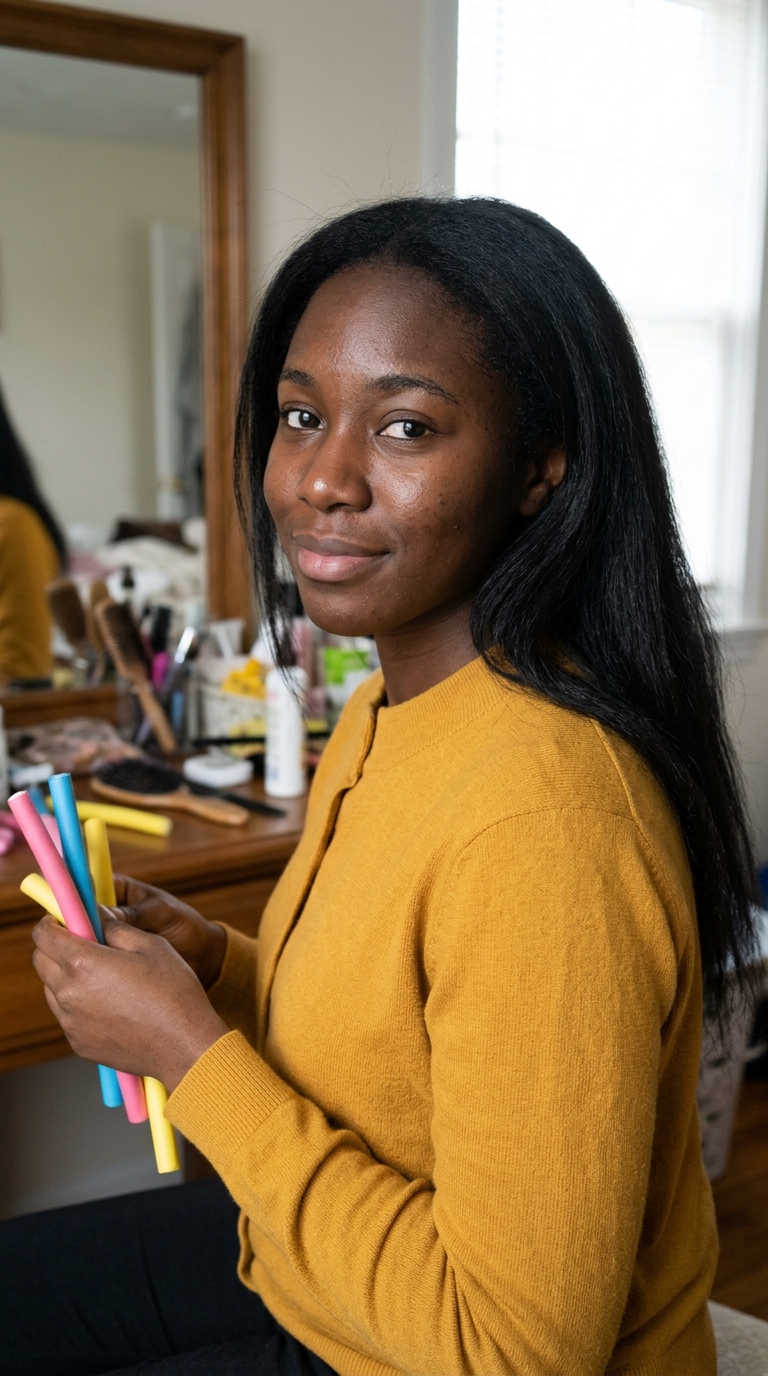
Flexi rods give you the most control on thick hair. Each rod holds one small measured section, so it is the most reliable way to get defined curls. Two strand twists work well too, because you decide the size of each twist, and they dry into soft S shaped waves. Braids give loose waves, not curls, and thick chunky braids trap water in the middle. A robe tie or a satin heatless rod piles a lot of hair around one core, so use thinner wraps on dense hair, or split the hair across two ties. Save pin curls for the face framing pieces. Pinning a whole thick head takes very long, and the flat coils are the slowest to dry.
Why it works: small wrapped sections dry right through. Big wrapped sections stay wet in the middle, and those are the ones that fall flat. On a set of about 80 to 90 percent dry hair, flexi rods need five hours to a full night for a defined curl.
Step 4: Take Sections Smaller Than Feels Right
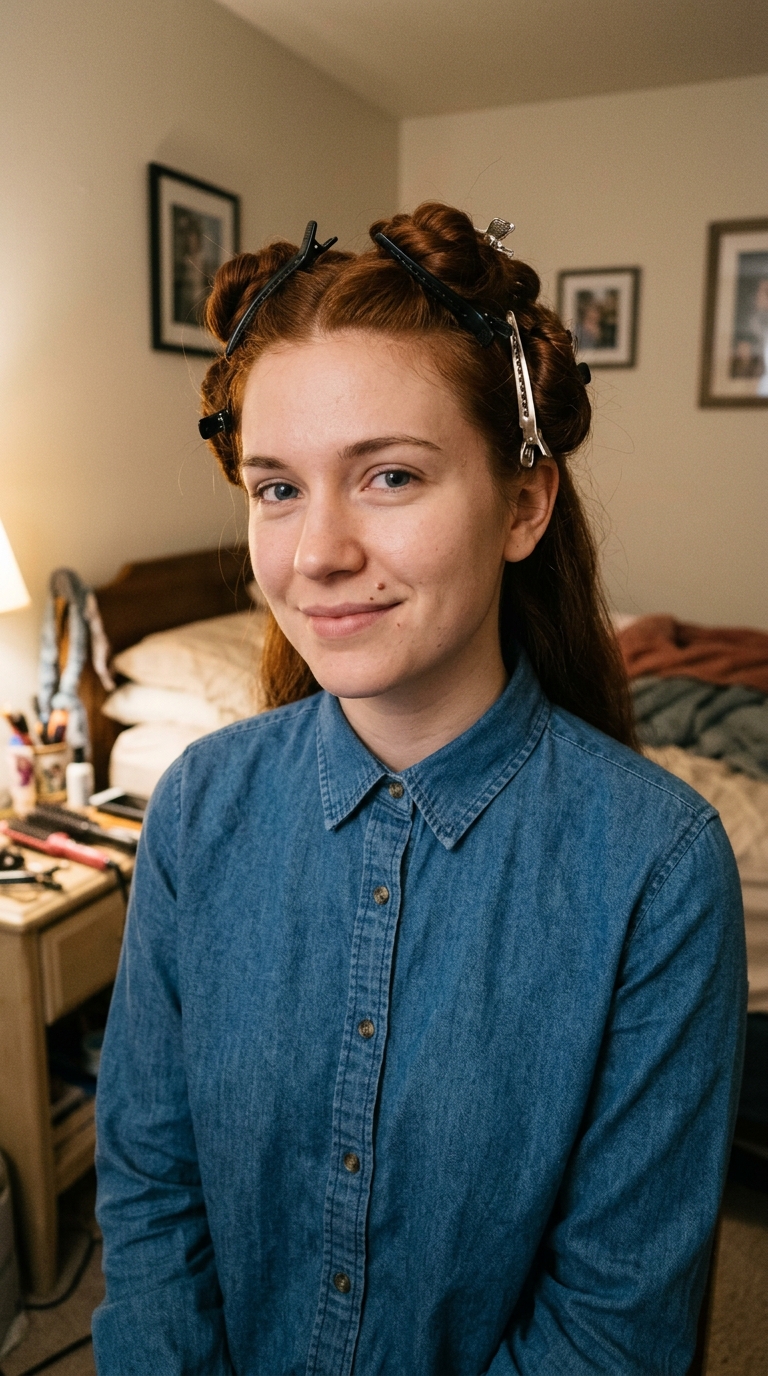
Aim for pieces about one inch wide, and no thicker than the rod can wrap flat. On thick shoulder length hair that usually means 20 to 30 sections. Clip the rest out of the way and start at the nape, then work up. The underneath layer is the thickest and the slowest to dry.
Why it works: small sections dry through to the middle. More sections also give you smaller, tighter curls, and tight curls last longer than loose ones. Big sections are the main reason heatless sets come out loose and uneven.
Step 5: Wrap Every Section With Even Tension
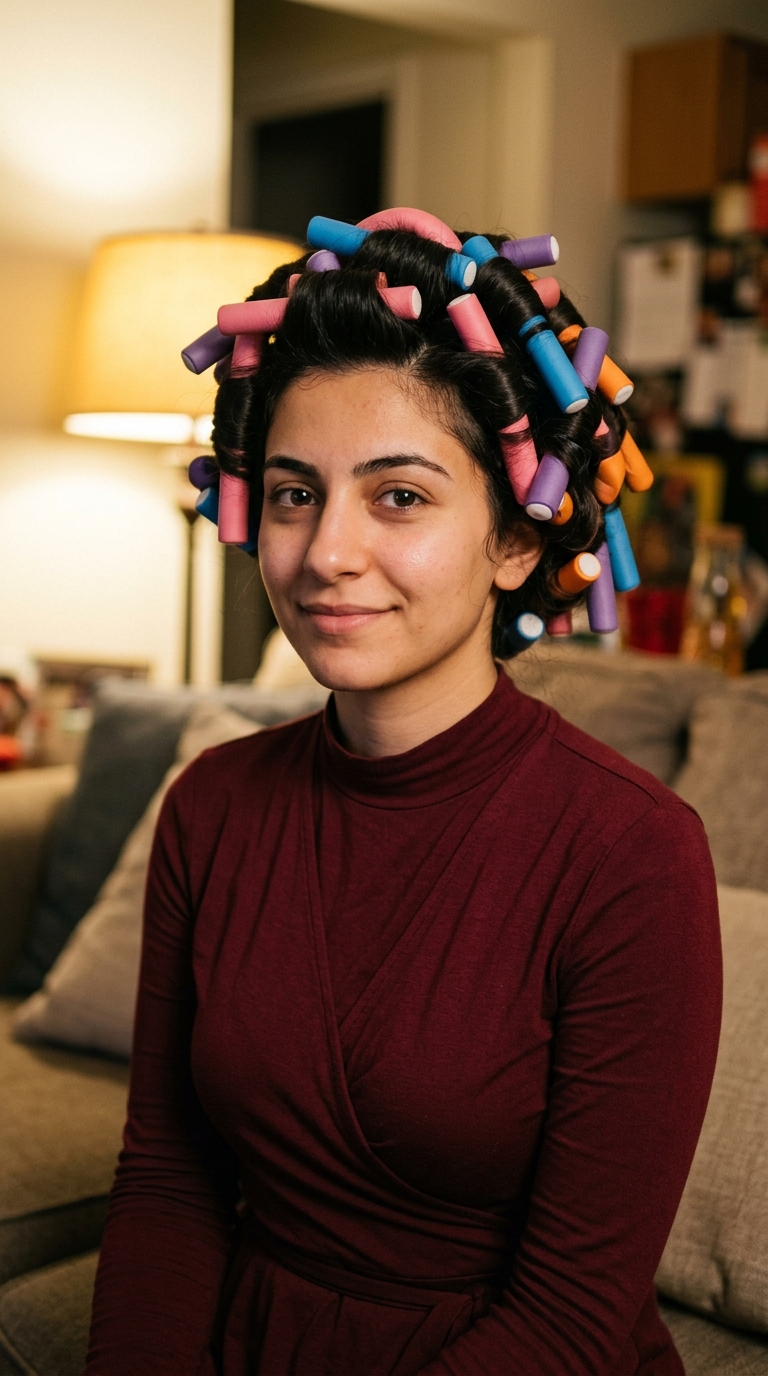
Wrap or twist with smooth even tension. Keep the ends flat against the rod so they do not bend into a fishhook shape. On the two sides of your face, wrap the sections away from your face. Through the back, switch the direction from section to section so the curls do not join into one clump. Secure each flexi rod by bending its ends inward, away from the length of your hair. Run twists right to the very ends, with a tiny dab of product to stop them from opening.
Why it works: even tension makes every curl the same size. Flat ends dry into smooth tips instead of frizzy bends.
Step 6: Protect the Set for the Night
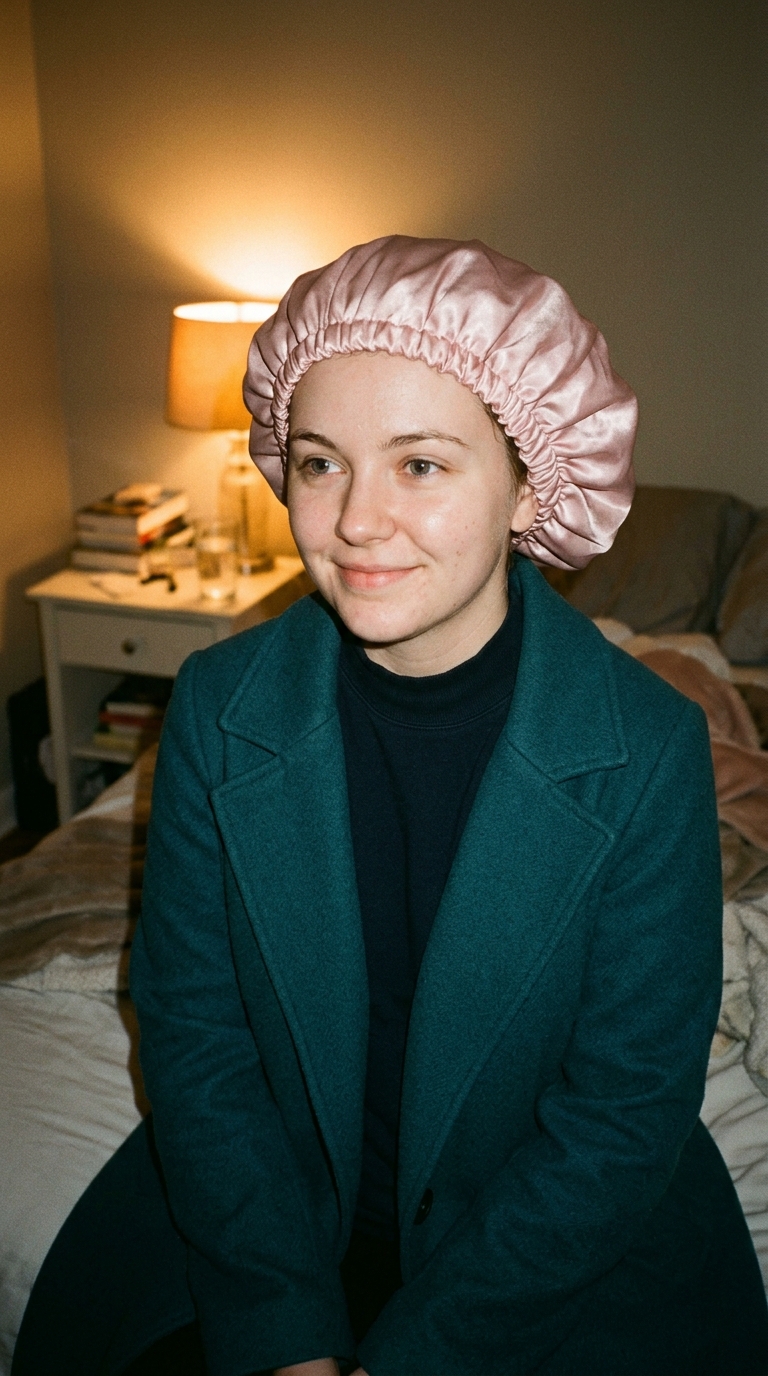
Cover the set with a satin or silk scarf or bonnet. If you have one, sleep on a silk or satin pillowcase. Tie back loose hair with a soft scrunchie or a silky tie. Never use a tight elastic on a fresh set.
Why it works: smooth fabric does not grab your hair while you move in your sleep, so you wake up with less frizz. A soft tie cannot press a dent into hair that is only half set. Thick hair usually needs the full night in the set.
Step 7: Test the Nape Before You Take Anything Down
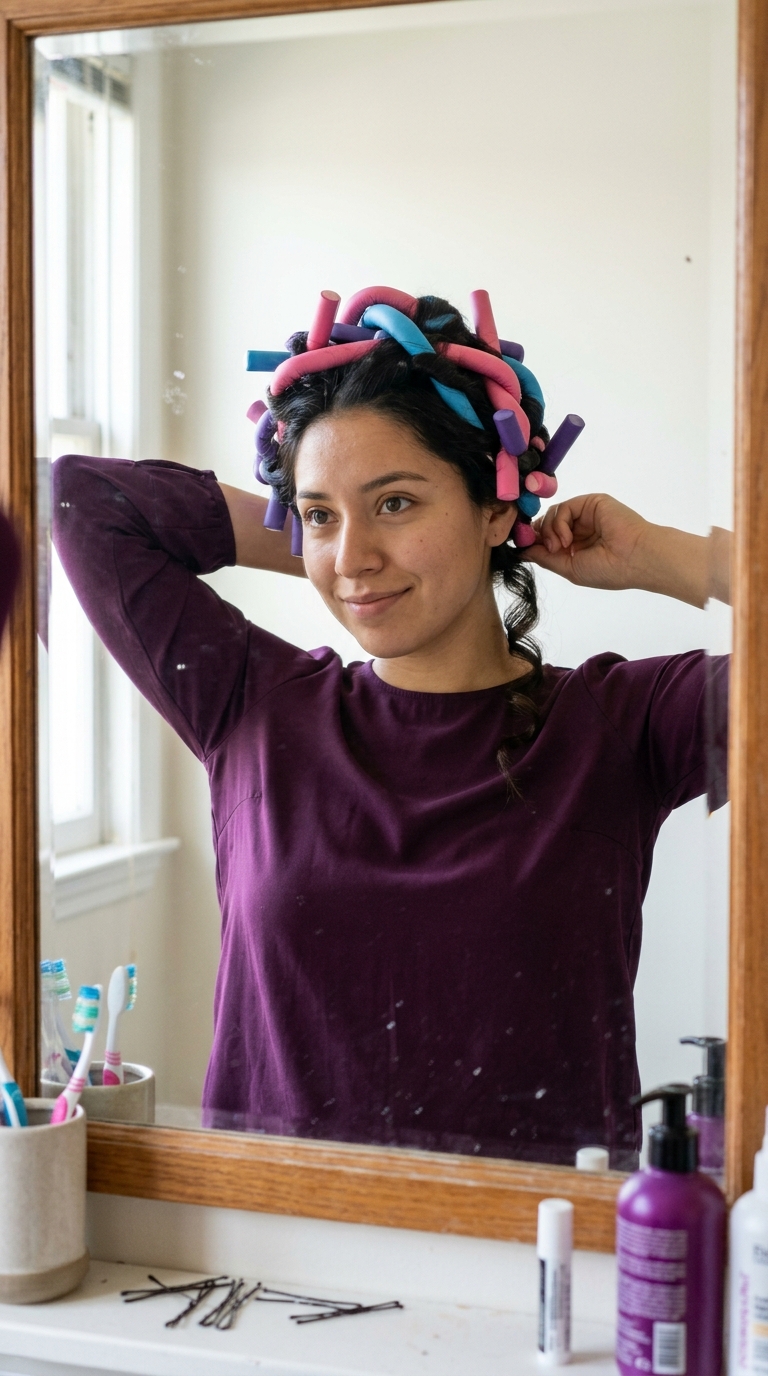
Unwrap one section from the nape, underneath, where thick hair dries last. Unwrap one from the crown too. If the nape section feels cool to the touch, looks darker, or falls straight, it is still damp. Wrap it back up and wait one or two more hours.
Why it works: cool to the touch is the sign. Water cools the hair as it dries off, so hair that still feels cool is still drying. Take the full set down only when the test curl springs back and feels the same temperature as the room.
Step 8: Unwrap and Separate With Your Fingers

Unwrap in the same order you set, starting at the nape. Do not touch the curls until they are all out. Rub a drop or two of light oil between your palms. Split each curl into two or three smaller pieces with your fingertips. Do not use a brush. Finish with light hold hairspray from arm's length.
Why it works: separating turns tight ringlets into full soft curls and adds volume. The oil smooths the frizz from sleep. The hairspray locks the shape without crunch. Stop separating while the curls still hold their shape. More handling means more frizz. Leave the curls alone for the first hour after you unwrap them. They keep tightening as the last moisture leaves, and touching them too soon makes the set fall flat by lunch.
Step 9: Keep the Curls for One to Three Days
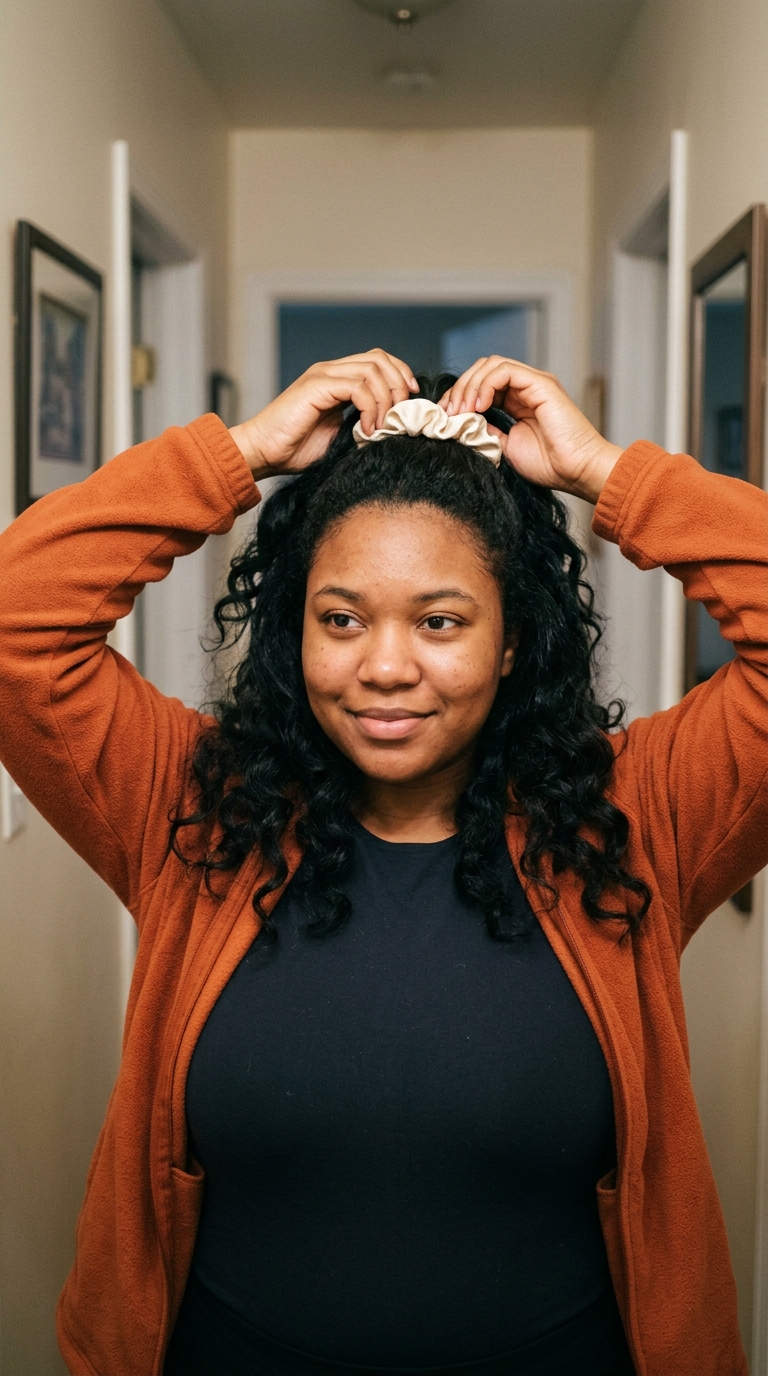
Each night, gather your hair loosely on top of your head with a soft scrunchie, or put the satin bonnet back on. In the morning, mist the mid lengths lightly with water or a curl refresher. Re twist any curls that fell around a finger for a few minutes.
Why it works: keeping the curls smooth and uncrushed at night is most of what makes them last. A light mist wakes up the hold product that is already in your hair, so flat pieces take shape again. When the curls relax into loose waves, it is time to wash and set again. On day two, mist only the sections that dropped, twist each one around two fingers, and pin it flat to your scalp for 15 to 20 minutes while you get ready.
Common Mistakes
-
Setting your hair when it is soaking wet. The inner layers are still damp by morning, and those curls drop within hours.
-
Using a few big sections to save time. Wide sections do not dry through the middle, and they give loose uneven curls.
-
Taking the set down on a schedule instead of testing it. Check the nape first. It is always the last part of thick hair to dry.
-
Tying the hair back with a tight elastic, or clamping a clip across half set hair. That leaves a dent that will not brush out.
-
Brushing the curls out, or separating them again and again. That breaks the clumps and makes dense hair frizzy.
Pro Tip
Set the underneath layer first, with the smallest sections. Use slightly bigger sections toward the top. The nape dries slowest and carries the most weight, so small sections there keep the curl pattern even from the roots to the crown.
The Bottom Line
Heatless curls on thick hair come down to three things. Start at the right dampness. Use small sections. Wait until the thickest layer is truly dry. Get those right and the curls should last one to three days, with a loose pineapple or a satin bonnet at night and a light mist each morning. When they relax into loose waves, wash and set again.
One heat note: if you rough dry with a blow dryer first, mist some heat protectant onto damp hair. If you touch up a stray curl with a curling iron, use heat protectant, work on fully dry hair only, and keep the heat under about 150C (300F) for fine or bleached hair, or 180 to 200C (355 to 390F) for coarse hair.
If your curls still drop no matter what you do, your haircut may be the problem. Heavy one length thick hair pulls curls down, and a stylist can take out bulk with internal layers so they keep their lift.
FAQs
Why do my heatless curls not hold on thick hair?
The usual cause is hair that was still damp inside when you took it down. Thick hair holds a lot of water, and big sections trap it in the middle. Start at about 80 percent dry, use one inch sections, work in mousse or curl cream, and test a nape curl before you unwrap. It should feel room temperature, not cool.
How long should I leave heatless curls in thick hair?
Plan on the full night, or at least several hours. It depends on how thick and coarse your hair is and how damp it was when you set it. Do not go by the clock. Unwrap one nape section. If it feels cool or falls straight, wrap it back up and give it one or two more hours.
What is the best heatless curl method for thick hair?
Flexi rods and two strand twists usually work best, because you control exactly how much hair goes into each section. A robe tie or a satin heatless rod works too, but thick hair needs thinner wraps, or two ties instead of one. Braids give waves, not curls, and pin curls are best for the pieces around your face.
How do I stop heatless curls from getting frizzy?
Start with a hold product on damp hair. Wrap with smooth tension and flat ends. Sleep in a satin or silk scarf or bonnet, or on a silk pillowcase. In the morning, split each curl only two or three times, with an oiled fingertip. A light hold hairspray at the end helps them stand up to humidity.
How do I avoid dents and creases from heatless curls?
Dents come from pressure on hair while it is still drying. Tie hair back with a soft scrunchie or a silky tie, never a tight elastic. Bend flexi rod ends inward, away from the hair. Keep clips out of the finished set. If a dent shows up anyway, dampen that spot lightly and re twist it around a finger until it dries.